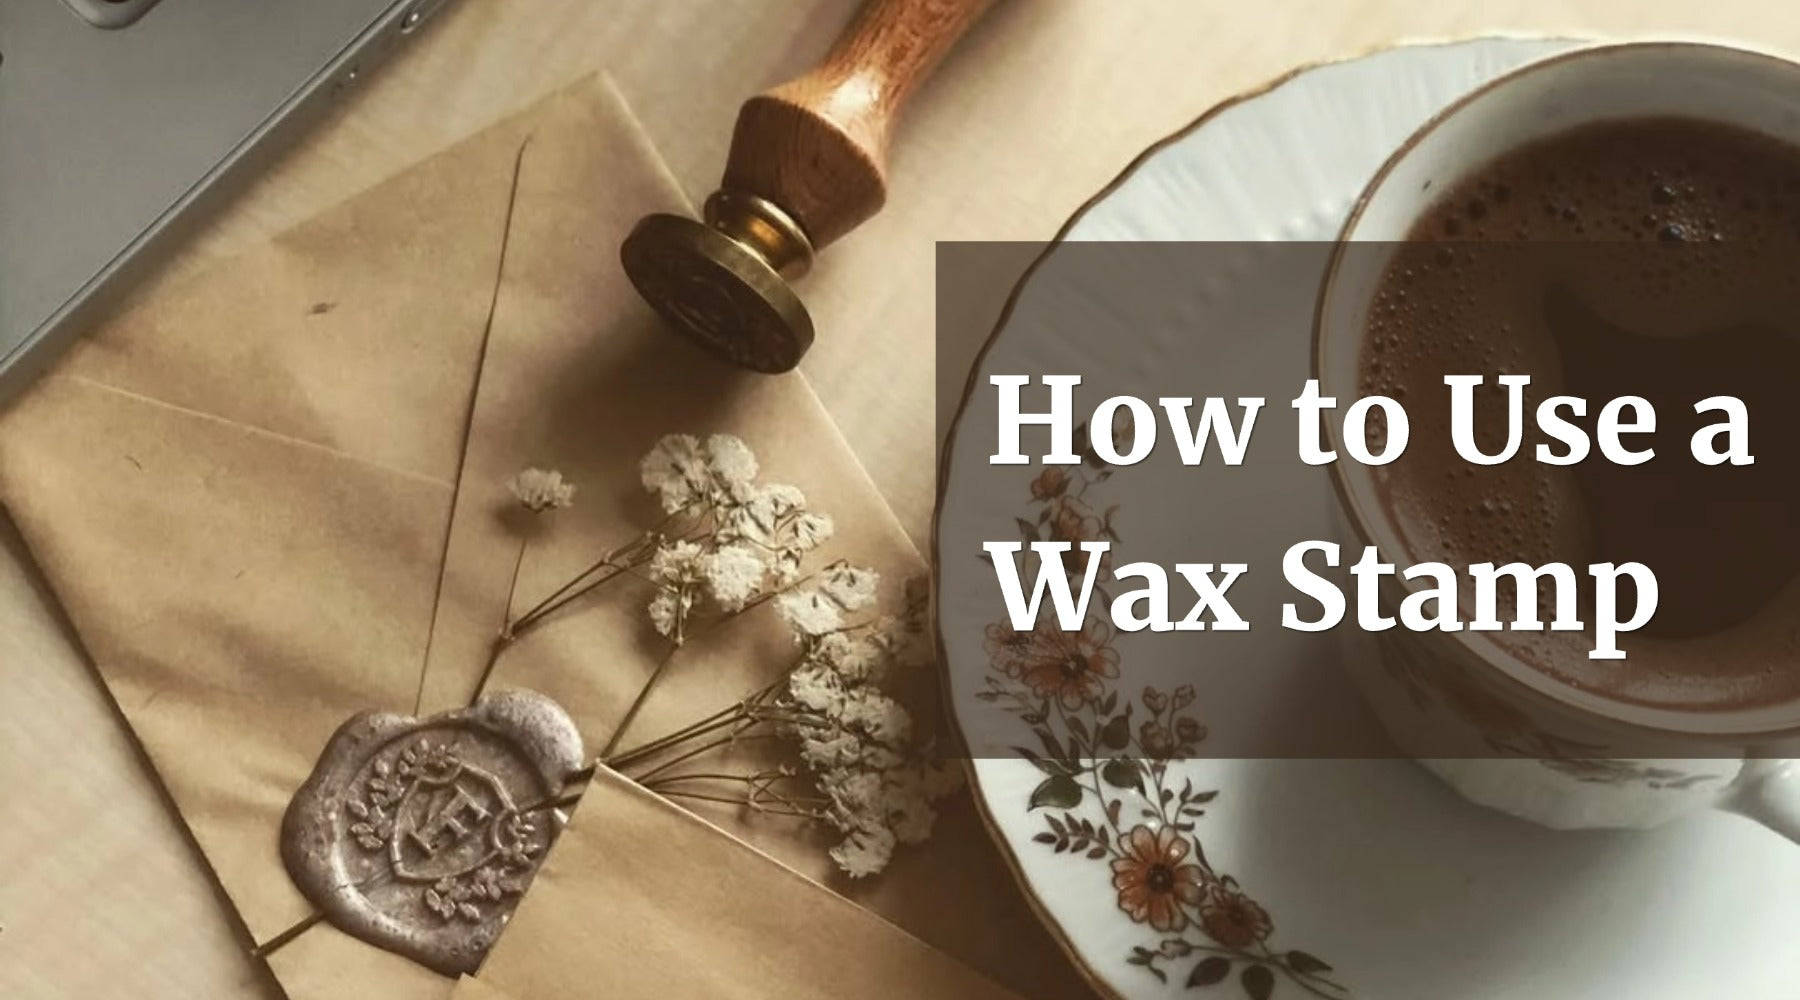
How to Use Wax Stamp to Make Wax Seals
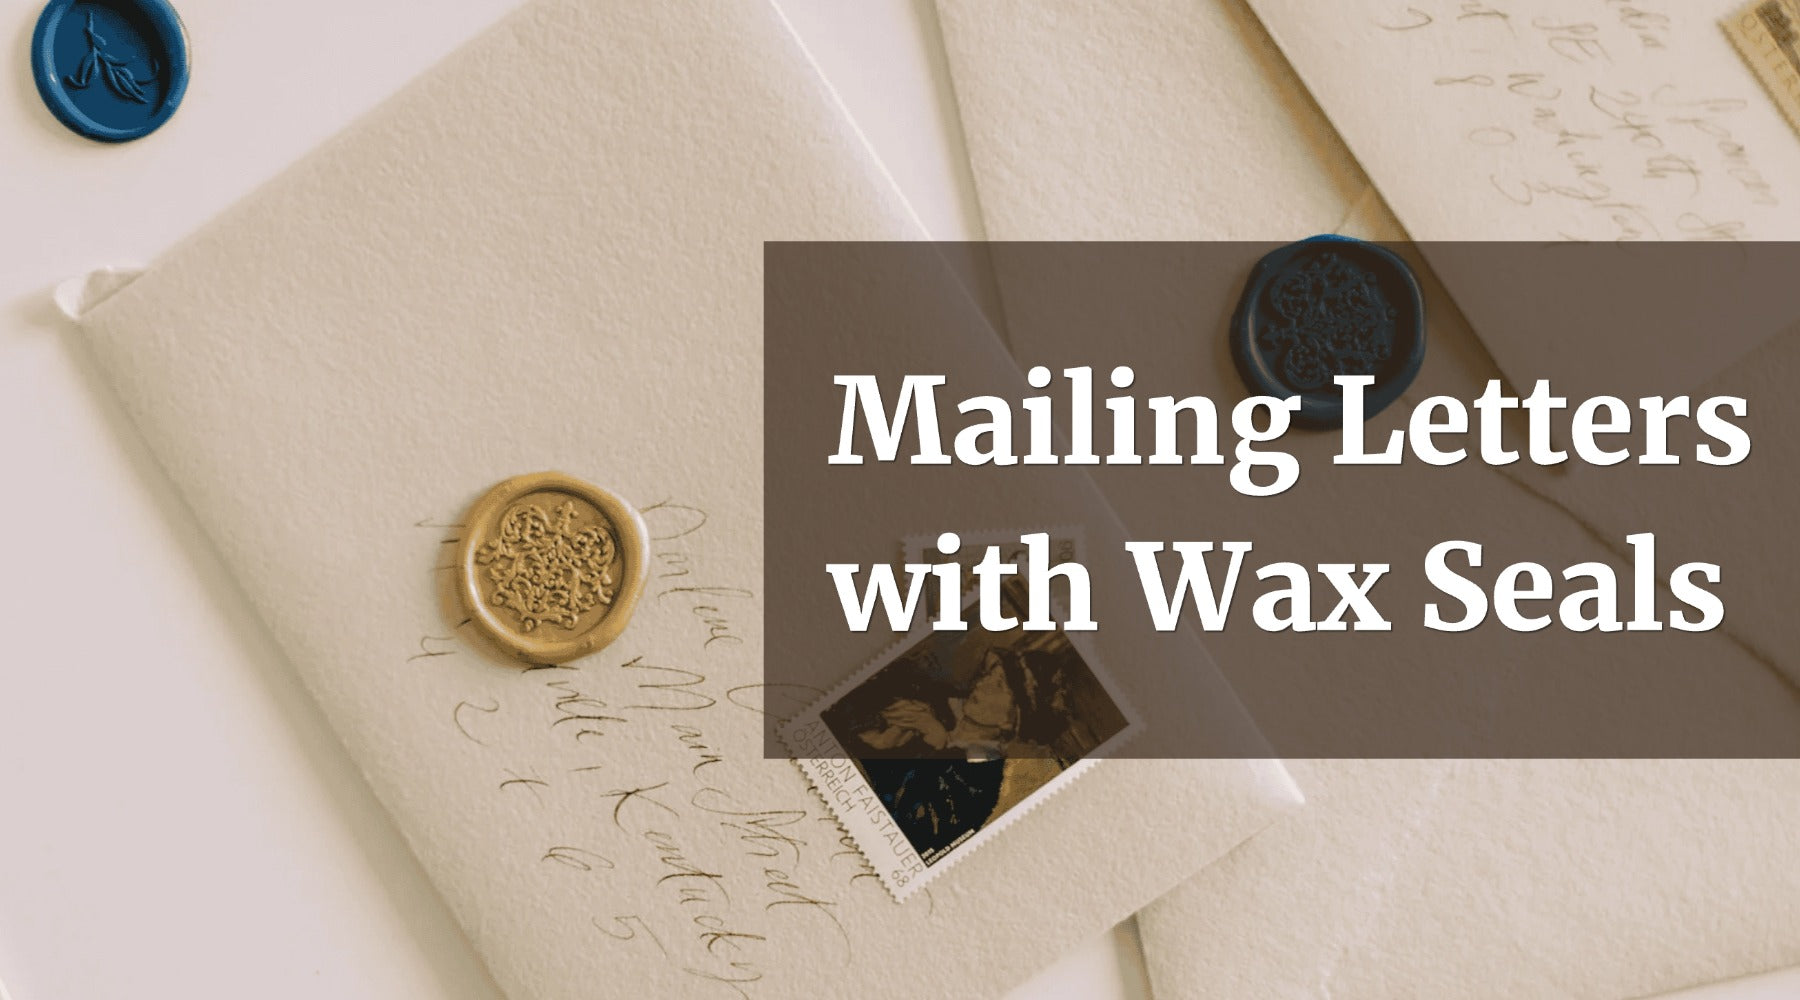
There's something undeniably special about breaking open a wax-sealed letter. That satisfying crack, the glossy impression left behind—it turns ordinary mail into a keepsake.
Using a wax stamp, you can seal so many thing including wedding invitations, writing heartfelt letters, or adding flair to gift packaging.
This guide covers everything you need to know about how to use your wax stamp to create the perfect wax seals. We'll walk through the process step-by-step and make sure you choose the right supplies for any project.
3 Essentials for Wax Stamping
If you're just starting out with making a wax seal, there are 3 key elements you'll want to have on hand:
1. Wax (Sticks, Beads & More)
Traditional Wax Sticks (with Wick)
These old-school wax sticks have a rich, historic feel and are used much like a candle. You light the built-in wick and let the wax drip onto your surface before pressing your wax stamp. They’re perfect for vintage aesthetics and special handmade touches. Just keep in mind—they can be a bit messy and brittle, so they’re better suited for decorative use rather than mailing.
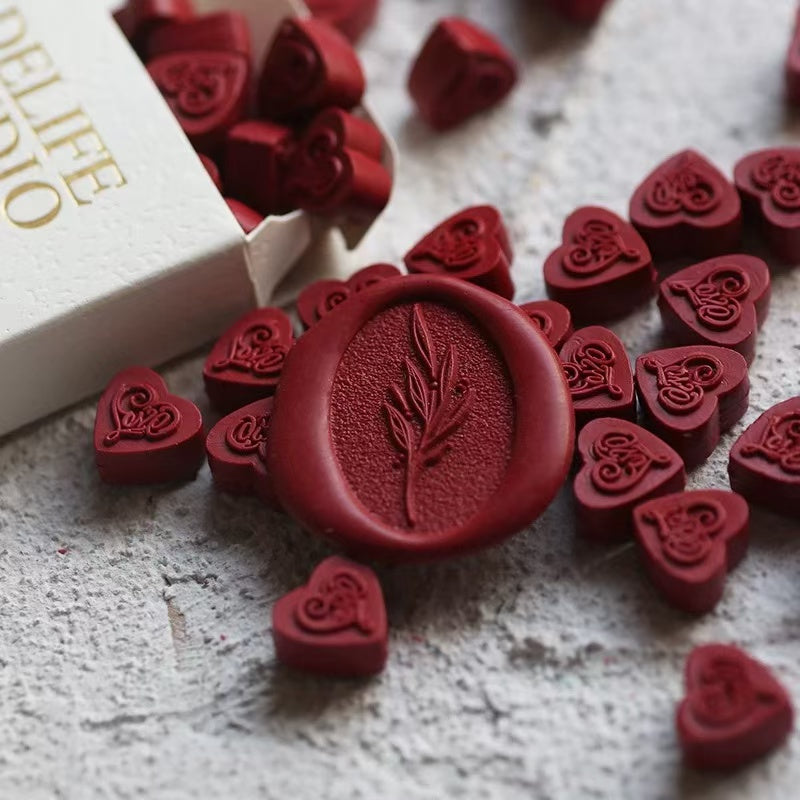
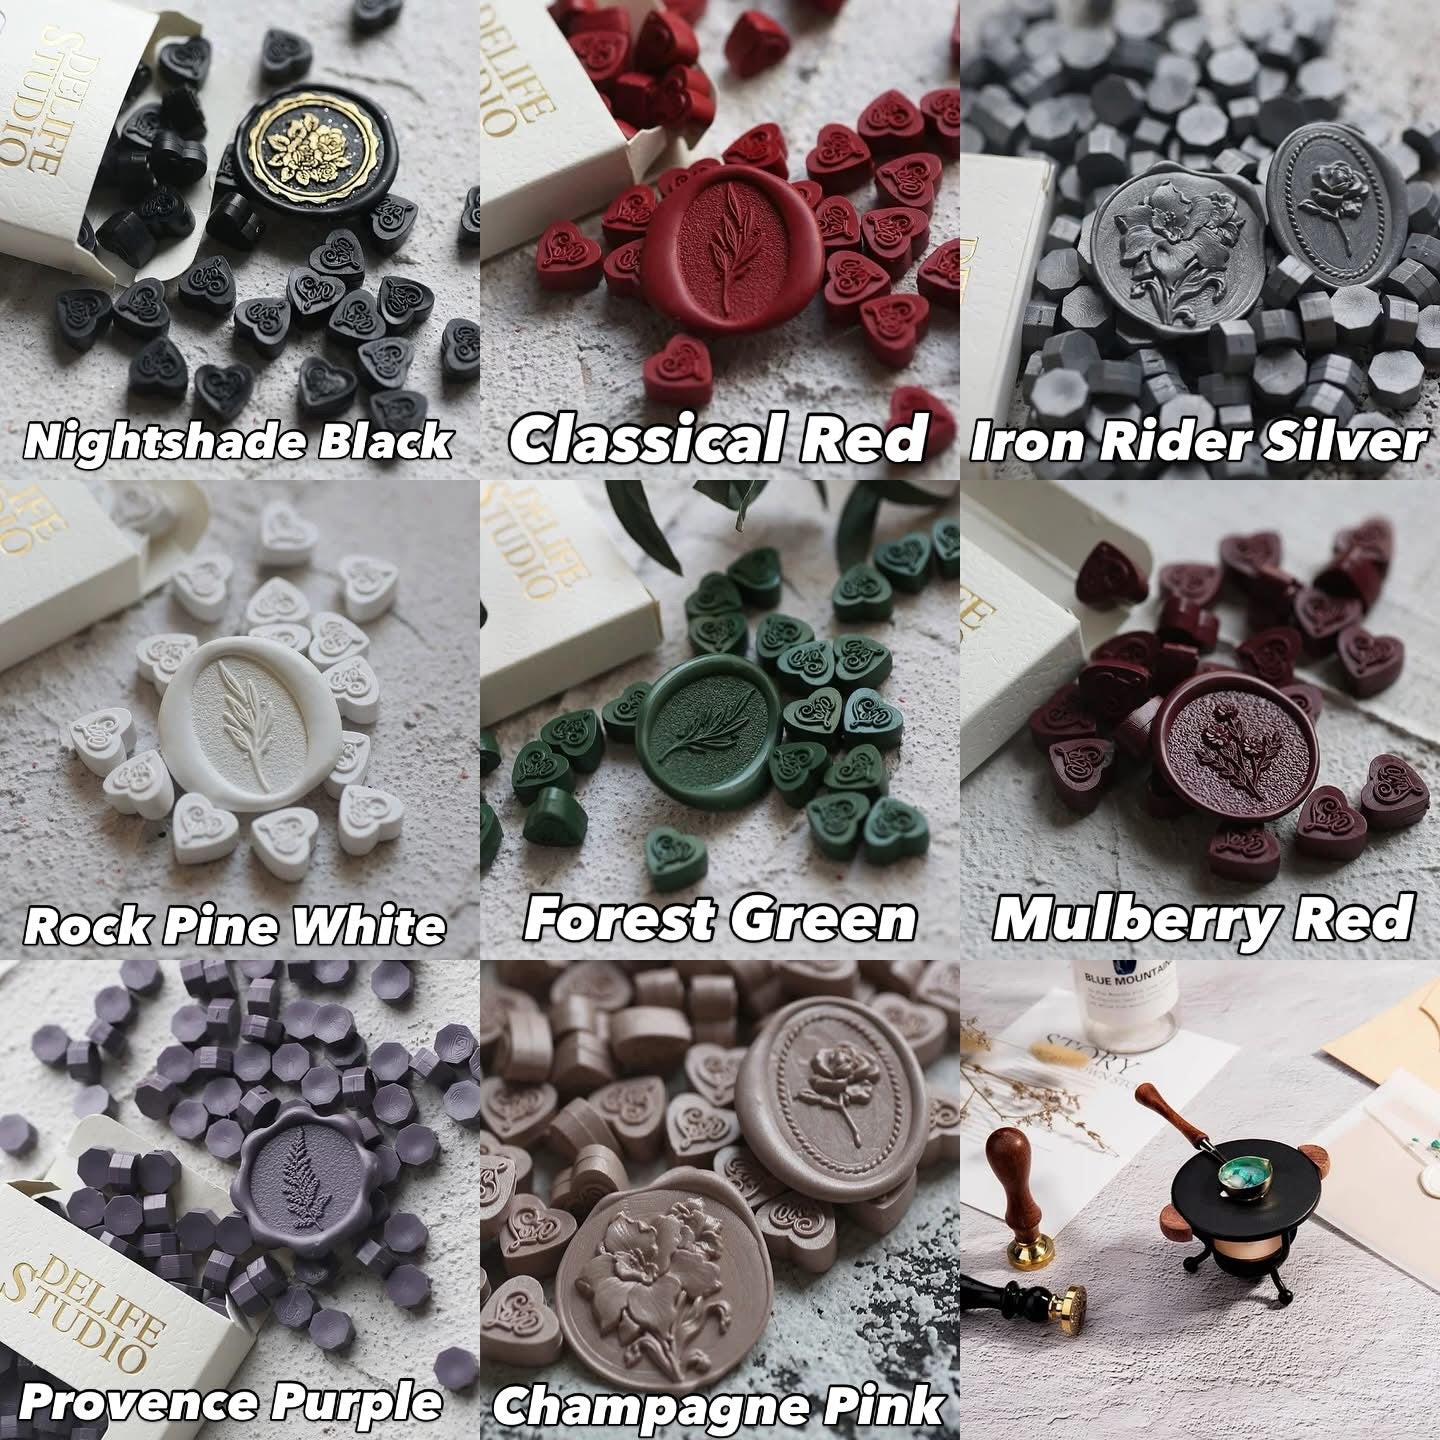
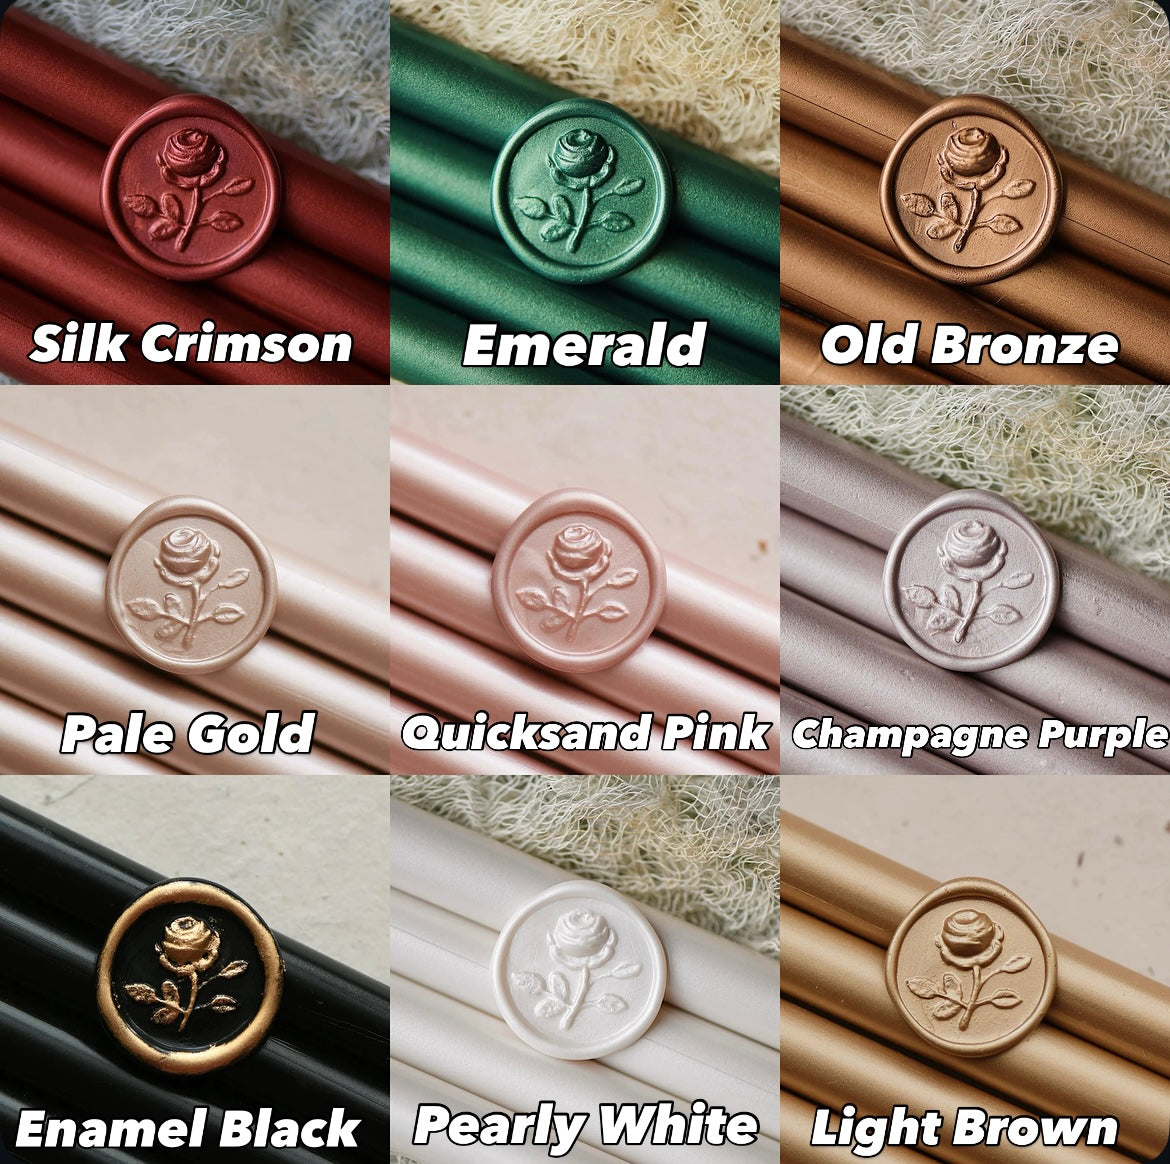
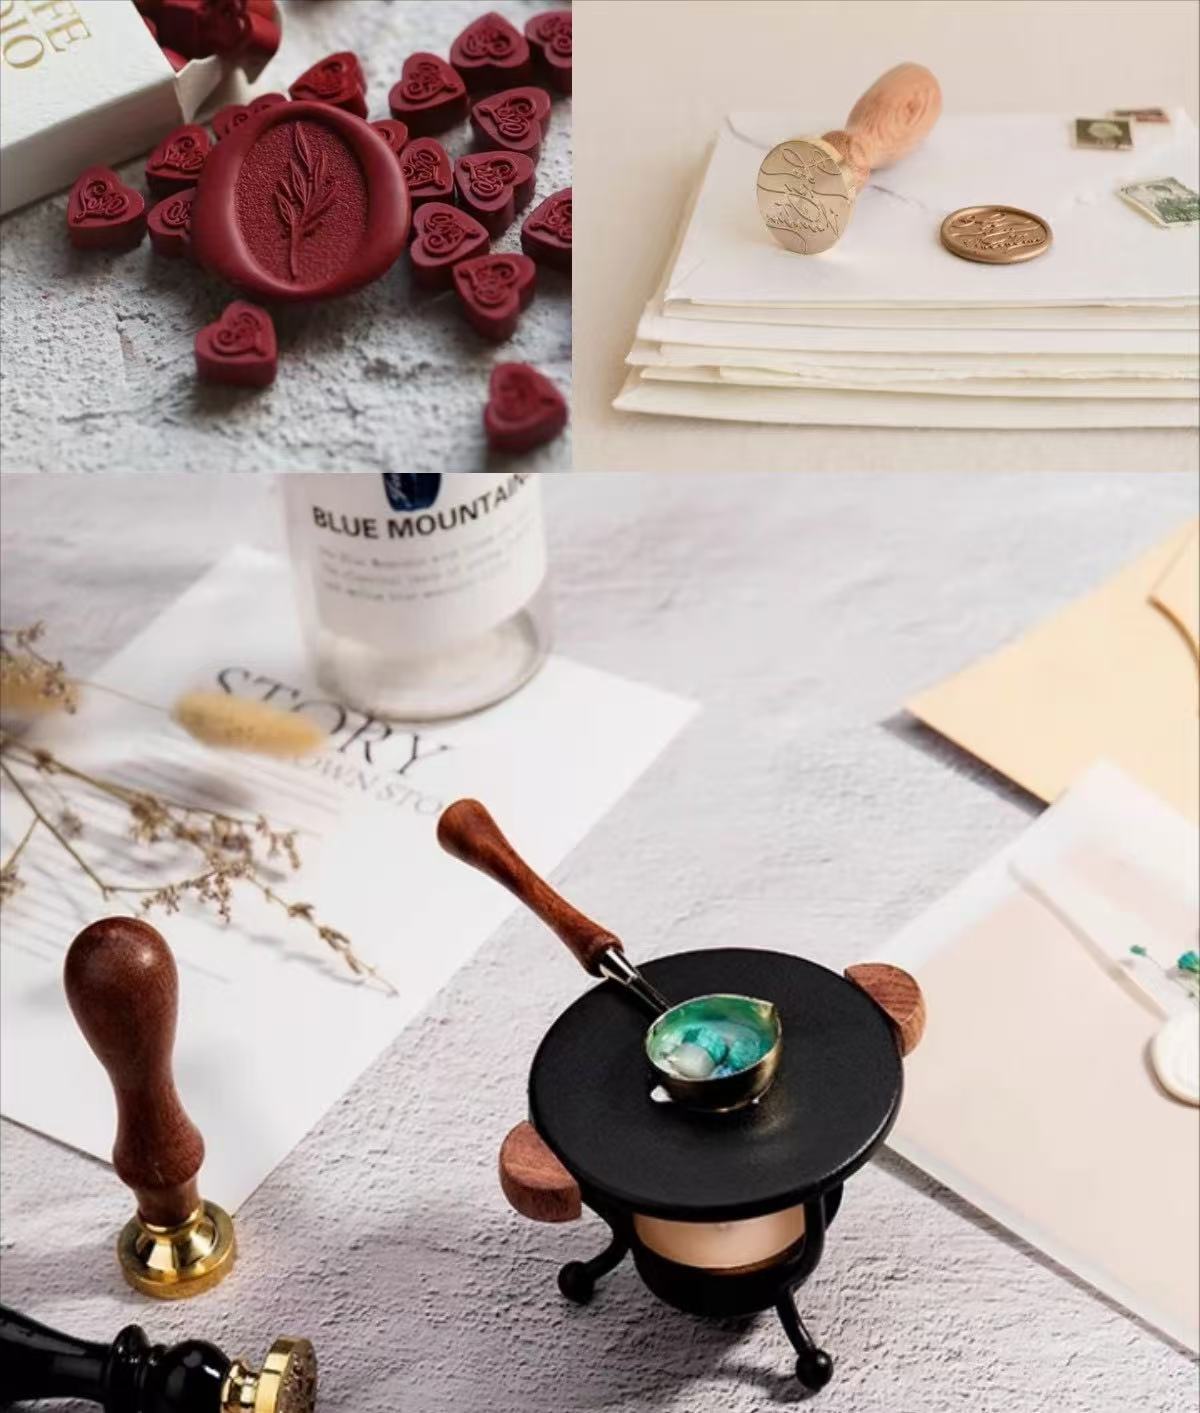
Modern Wax Beads

Wax beads are small pellets that you melt in a spoon or melting pot. They’re beginner-friendly and give you more control over how much wax you use.
Each box of wax beads at GiftedChop gives you enough for about 30 beautiful wax seals—plenty for your next project.
Why they're popular:
- Easy to mix colors for creative effects
- Flexible formula that won’t crack in the mail
- Less waste—leftovers can be reused
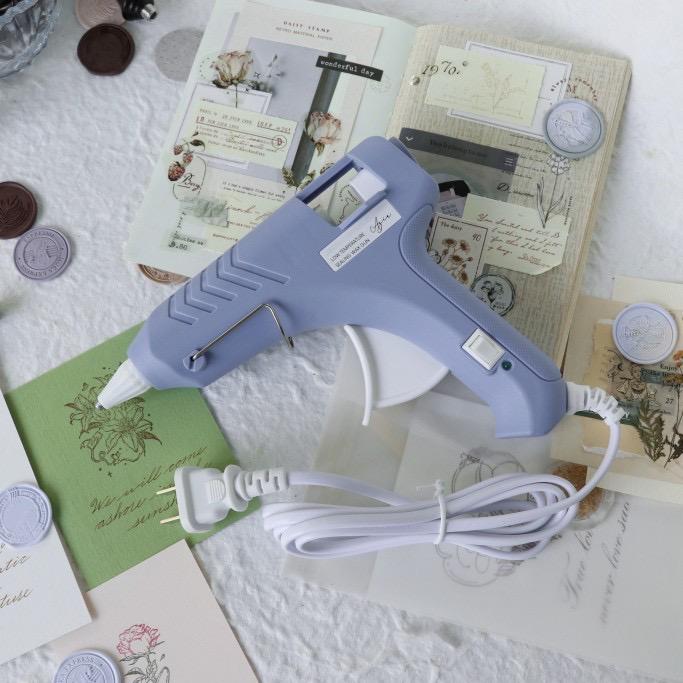
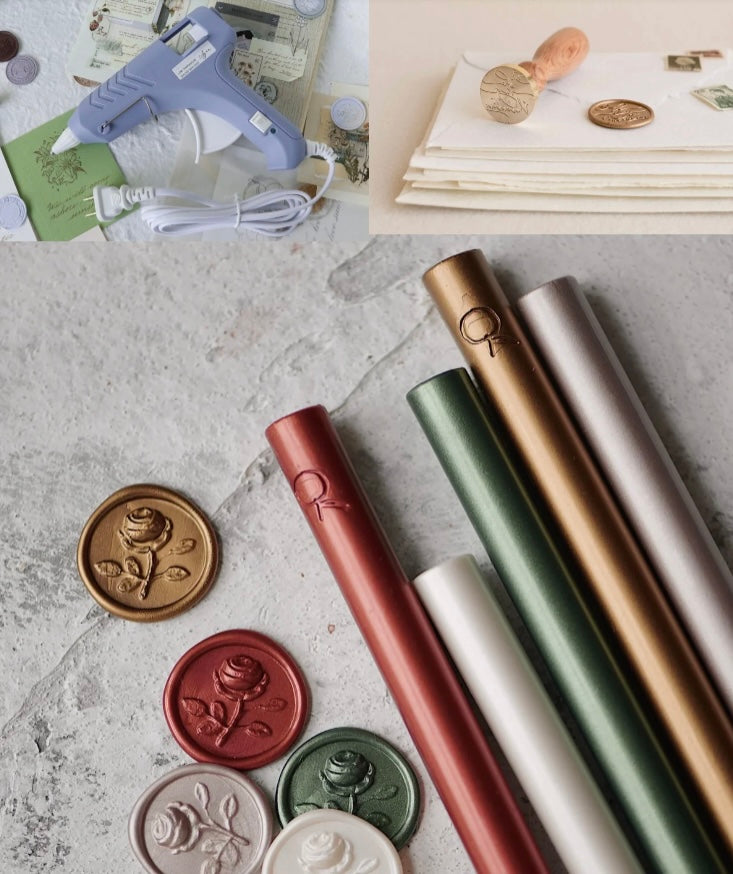
Modern Wax Sticks (Wickless)

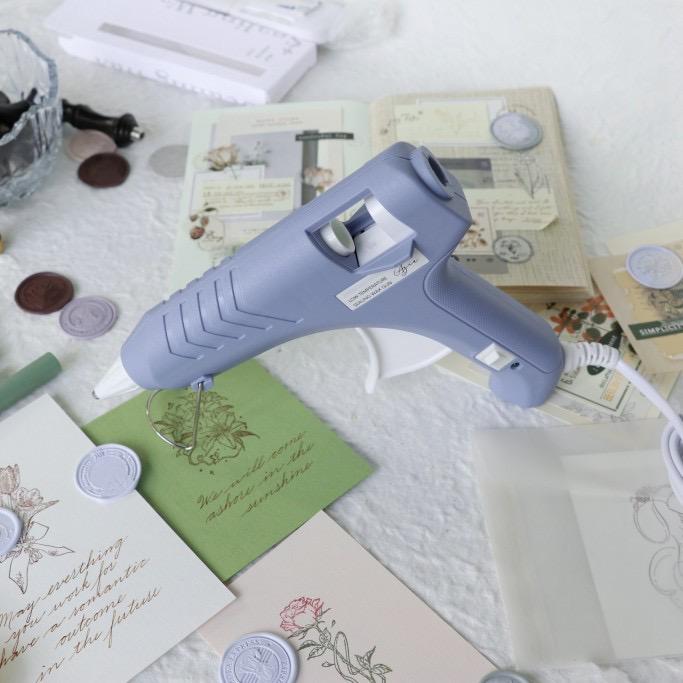
Made specifically to fit standard low-temp glue guns, this type of wax is super convenient for high-volume projects like wedding invitations or business branding wax seals.
We also offer standard-sized wax sticks—every 5 sticks make approximately 40 wax seals.
Why they're popular:
- Quick, mess-free application
- Consistent size and flow
- Great for batching lots of seals
Just make sure you’re using a low-temperature glue gun, as high heat can scorch the wax.
2. Heating Tools
You’ll also need a heat source to melt your wax properly—pick the right one based on your wax type.
For Wax Sticks:
- Basic: A tea light candle—simple and classic for melting wax sticks.
- Upgrade: A wax gun offers cleaner, faster melting with less mess and better control.

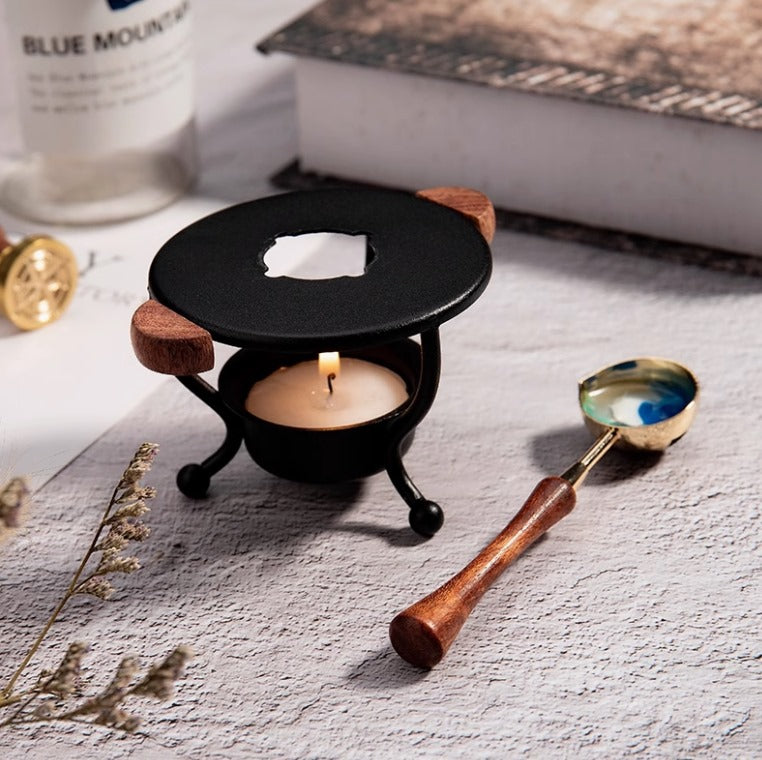
For Wax Beads:
- Basic: Melt wax beads in a metal spoon over a candle for simple, hands-on control. We also offer a complete candle melting kit to help you melt beads smoothly and easily.
- Upgrade: An electric melting kit gives you precise temperature control and consistent melting, making it perfect for frequent or larger projects.

*Tip: Stir the wax occasionally while melting to ensure even consistency and prevent overheating.
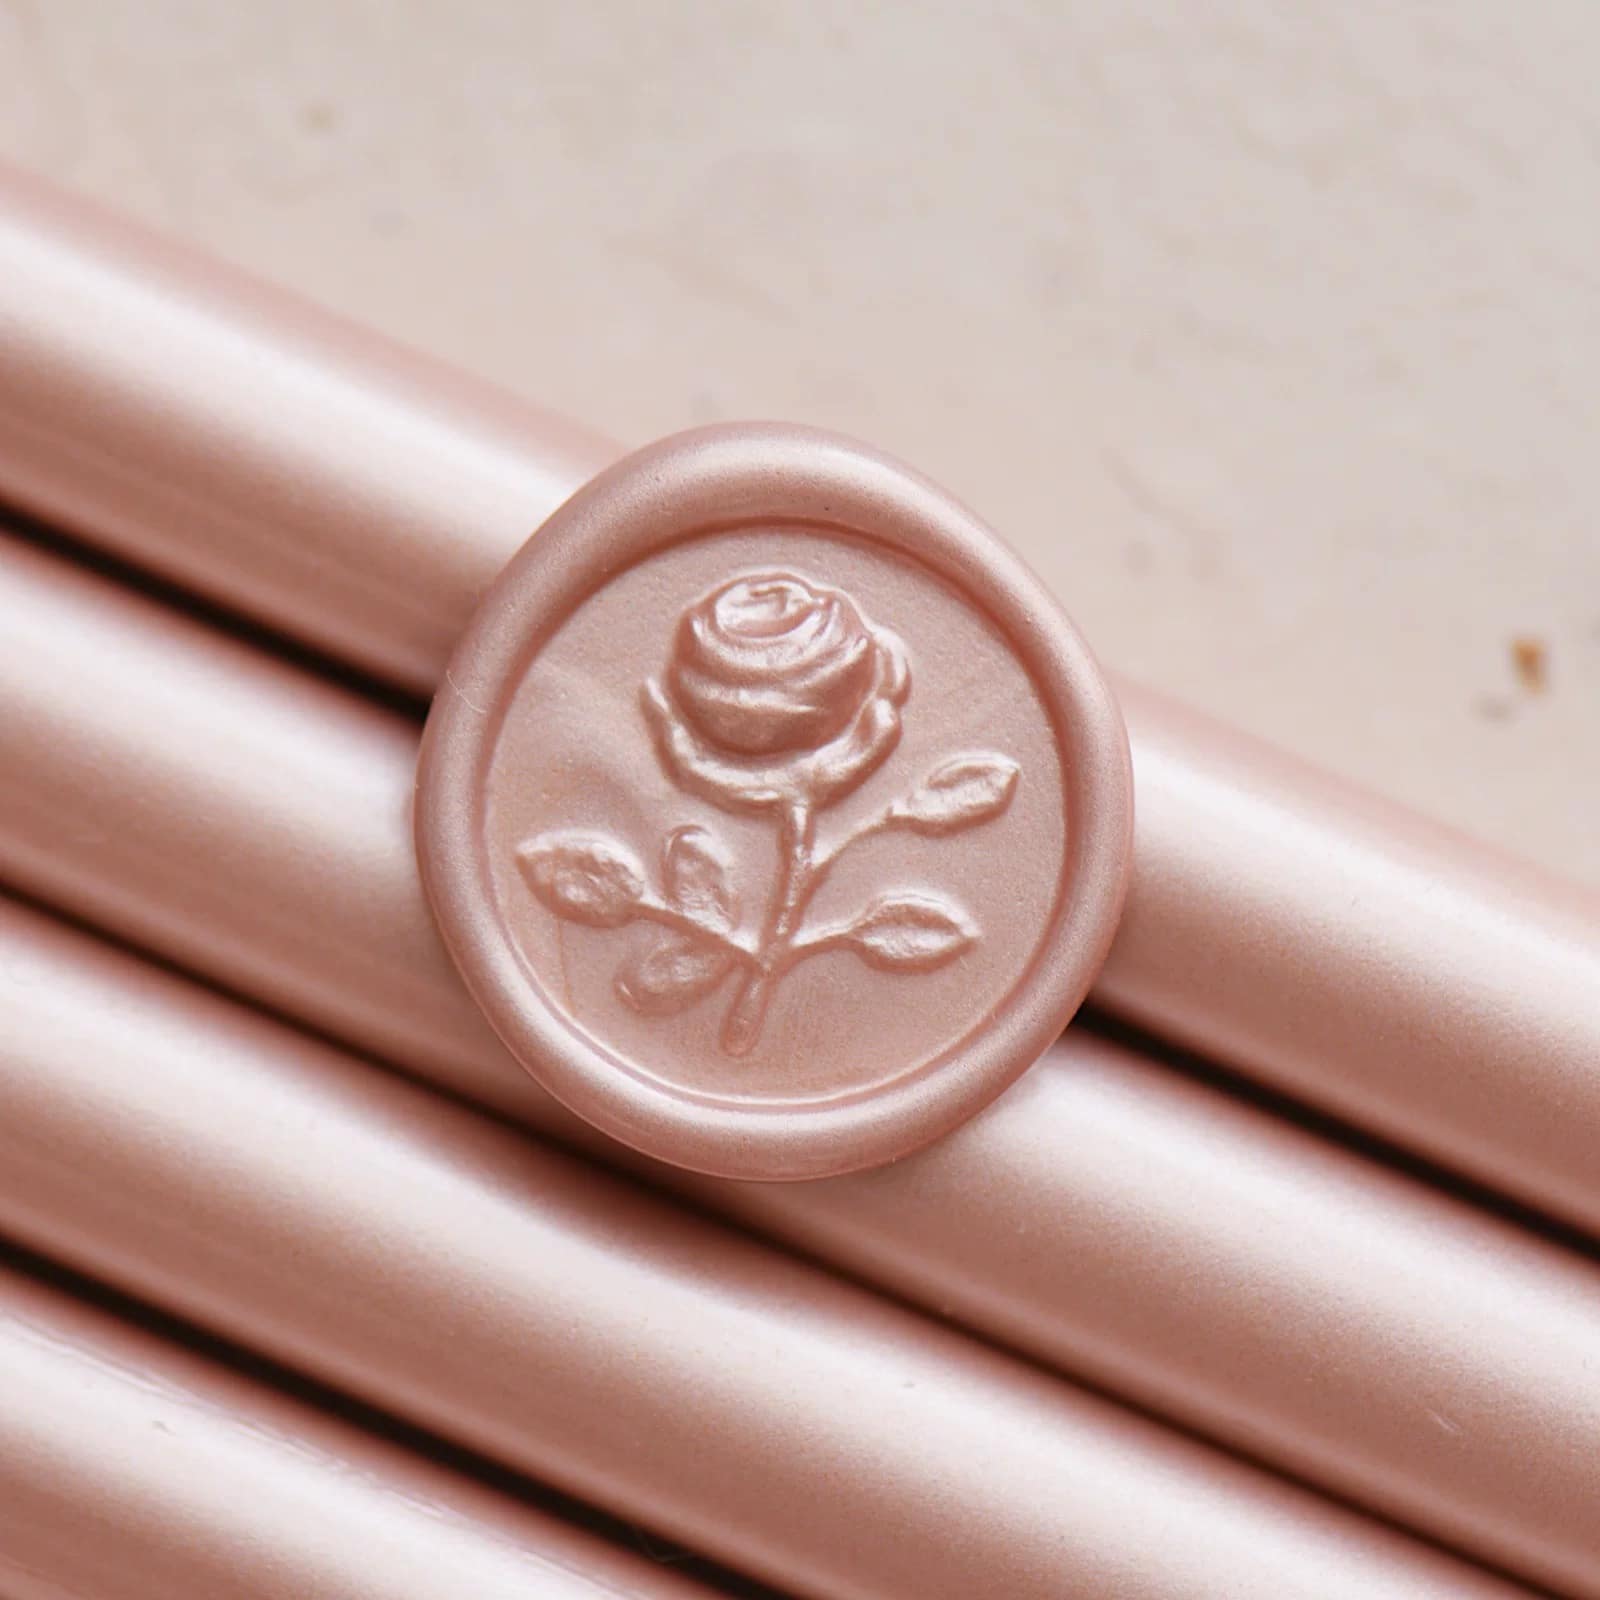
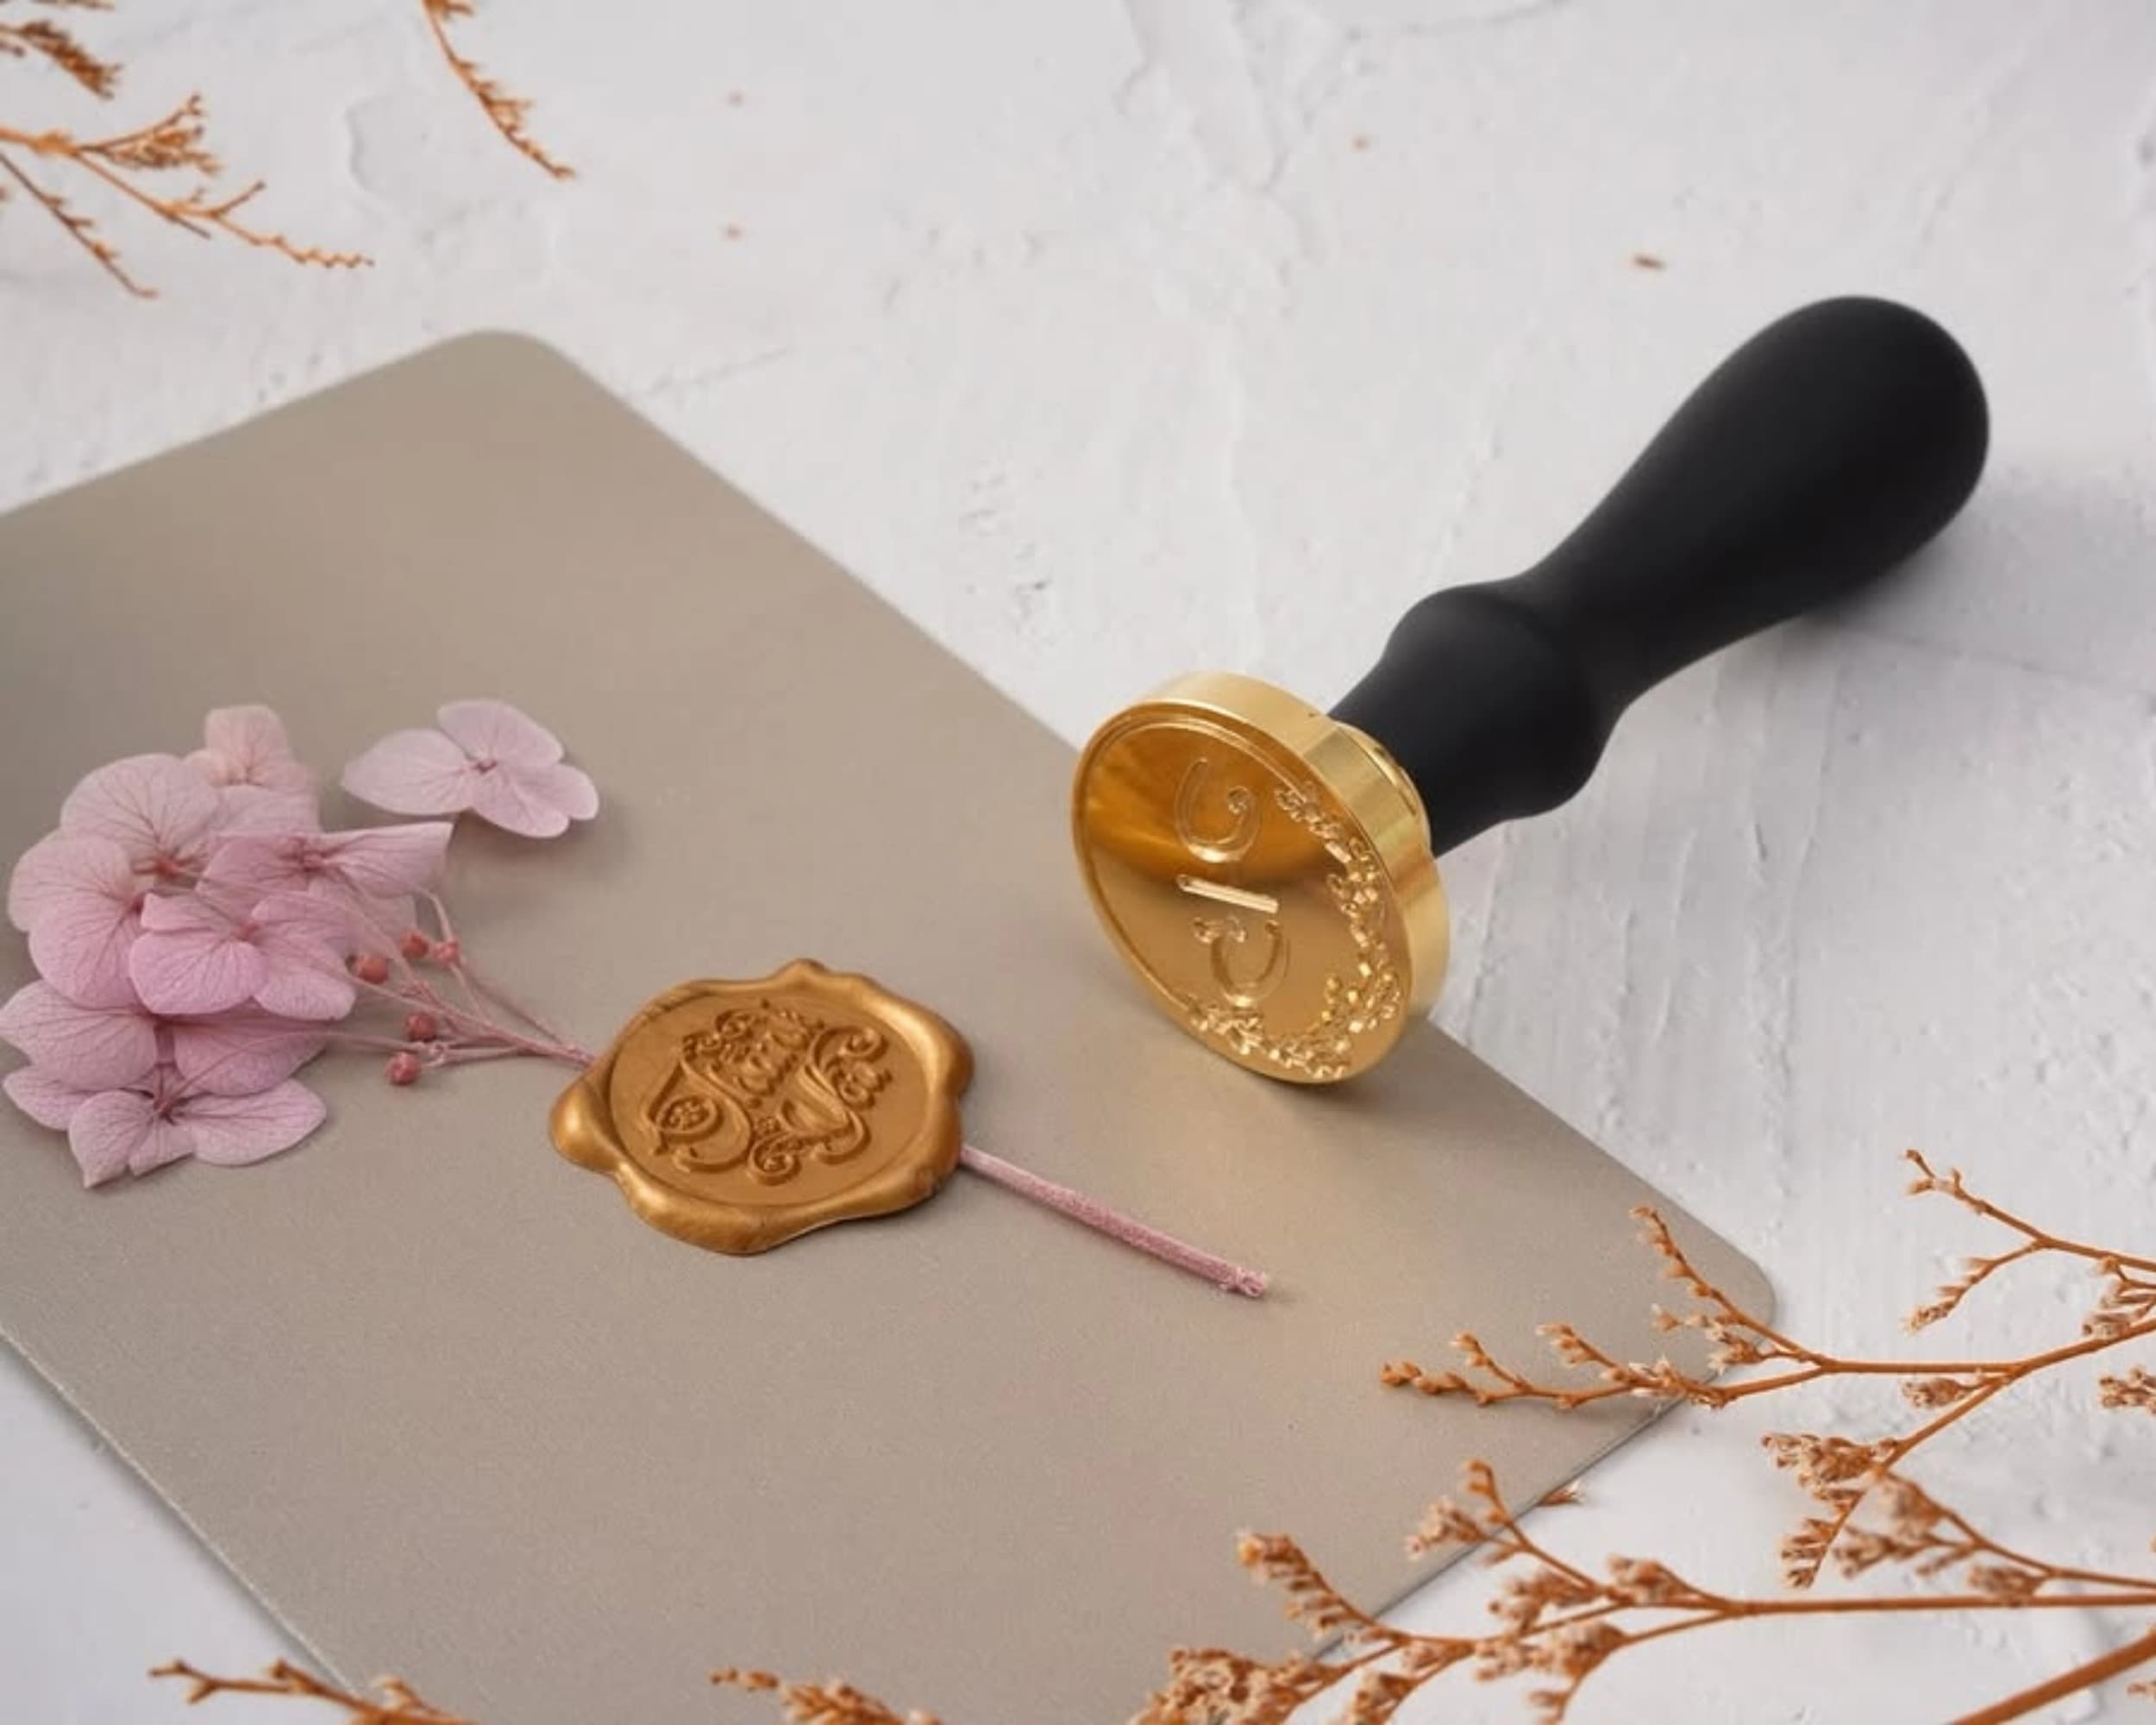
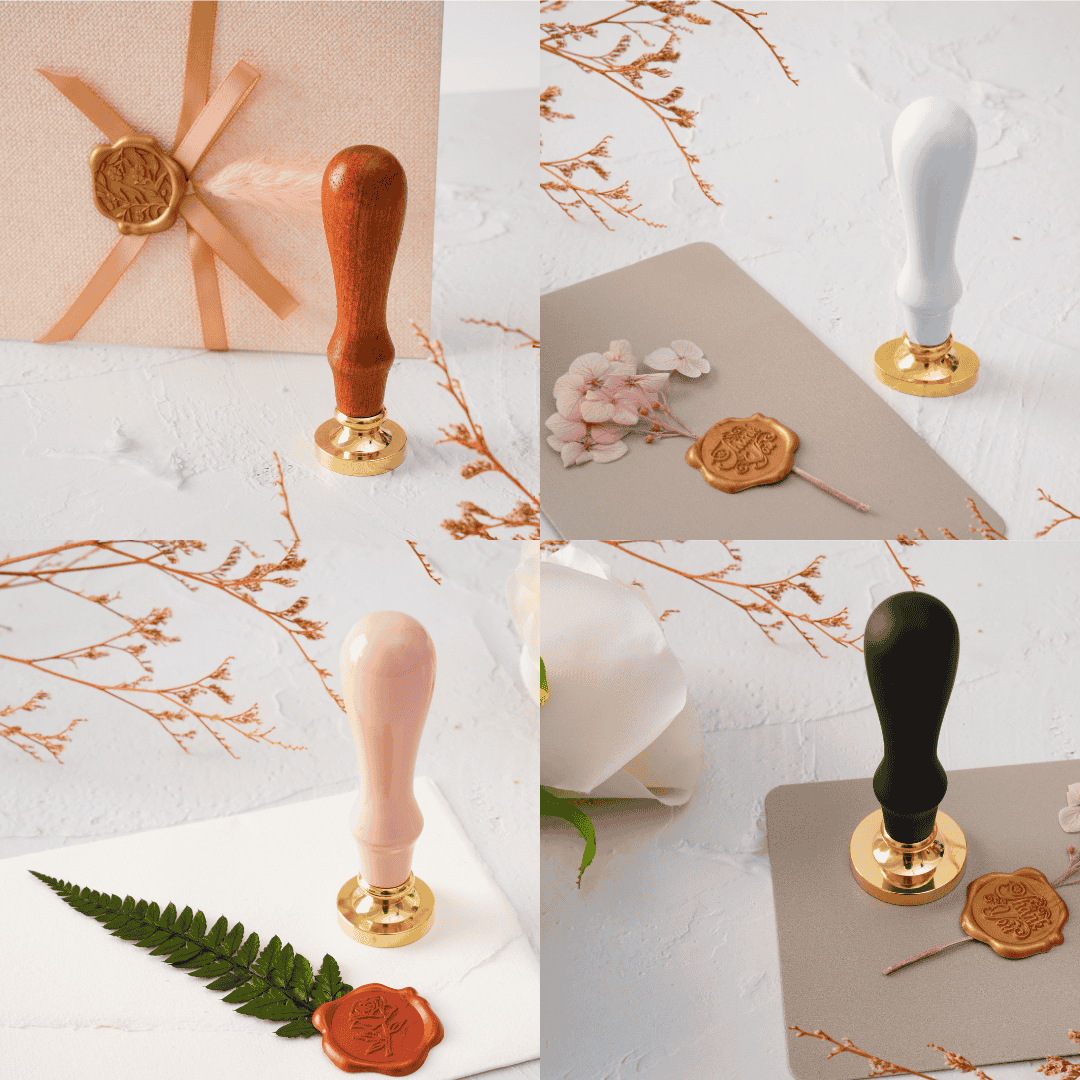
3. Wax Stamps
Finally, you’ll need a quality wax seal stamp to press your design into the melted wax. We recommend starting with a 25mm round stamp—it’s the perfect all-around size for most projects.

GiftedChop wax stamps come in this versatile size, featuring smooth wooden handles that feel great in your hand and sturdy metal plates etched with beautiful, customizable designs.
If you want something truly unique, consider our custom wax stamps, which allow you to use your own design for a completely personalized touch.
How to Make a Wax Seal Using Wax Sticks
Pairing wax sticks with a glue gun is ideal when you want consistent, drip-free seals every time. It’s a quick and tidy method that’s especially helpful for batch projects or when you need to keep things efficient.
What You’ll Need:
- Low-temperature glue gun | 🛒 Shop Now >
- Modern wax sticks | 🛒 Shop Now >
- Wax stamp | 🛒 Shop Now >
Step-by-Step Instructions:
- Insert a wax stick into your low-temp wax glue gun and allow it to heat fully (usually 5 minutes).
- Squeeze the trigger gently to release melted wax onto your surface, creating a puddle just slightly smaller than your stamp.
- Press the wax stamp firmly into the melted wax and hold for about 10 seconds.
- Lift the stamp straight up carefully to reveal your crisp wax seal. Wax from a glue gun cools quickly.
How to Make a Wax Seal Using Wax Beads
Perfect for projects that go through the mail, wax beads offer great flexibility—you can blend sealing wax colors for custom effects and even reuse extra wax by turning it into pre-made seals.
What You'll Need:
- Wax beads (4–5 per seal) | 🛒 Shop Now >
- Melting kit (wax spoon + tea light candle) | 🛒 Shop Now >
- Wax stamp | 🛒 Shop Now >
- Optional: Ice cube or cold pack (to chill your stamp)
Step-by-Step Instructions:
- Place 4–5 wax beads in your melting spoon—adjust the amount depending on the size of your wax stamp.
- Melt the beads slowly over a tea light candle or electric heater. Keep the heat low and steady. If you see bubbling, the wax is too hot—remove the spoon for a moment to cool.
- Pour the melted wax in one smooth motion onto your sealing surface. Aim to make a circular puddle slightly smaller than your wax stamp.
- Chill your wax stamp beforehand using an ice cube wrapped in cloth (or place it on a cold surface). This helps the wax cool faster and gives you crisper details.
- Firmly press the stamp into the wax and hold for about 15–20 seconds.
- Lift the wax stamp straight up to reveal your finished seal.
* Tip: Got leftover wax in your spoon? Pour it onto parchment paper to make reusable wax seals—just glue them onto envelopes later with a dot of hot glue or sticker backing!
Pro Tips for Sealing a Letter with Wax
1. Mailing Your Wax Seals Safely

To make sure your wax seals arrive looking just as beautiful as when you stamped them, take a few simple steps to protect them during mailing.
- Use flexible wax beads designed to survive postal handling.
- Place your sealed envelope inside an outer envelope to protect the seal.
- For delicate or formal pieces (like wedding invites), use rigid mailers to prevent bending.
2. Creative Ways to Use Your Wax Stamp
Think outside the envelope wax seals. Wax stamps are incredibly versatile and can elevate a wide range of DIY projects. For instance:
- Drip wax onto gift tags for a vintage, handcrafted feel.
-
Make wax seal stickers by pouring wax onto parchment, then attaching them later with glue dots.
3.Troubleshooting Common Issues

Running into a few issues while wax stamping? Don’t worry—it happens to everyone at first. Here’s how to quickly troubleshoot the most common issues with using your wax stamp.
- Stamp sticking? Chill the stamp slightly before use to help clean release.
- Wax bubbling? Lower the heat and melt it slowly to prevent air pockets.
- Wax seal cracked or broke? Just reheat the wax and try again—no waste!
How to Maintain Your Wax Stamp for Long-Term Use
Taking good care of your wax stamping tools means they’ll last longer and perform beautifully every time you use them. Here’s how to keep them in top shape.

For Wax Stamps
- After each use, wipe your stamp clean with a soft cloth to remove any leftover wax residue. This prevents buildup and keeps the design crisp.
- Store your stamps in a dry, cool place to avoid tarnishing or rust on the metal plate. Avoid humid areas like bathrooms.
- About once a year, give your stamp a deep clean using rubbing alcohol on a cotton pad. This removes oils and dirt, restoring that shiny finish and keeping your impressions sharp.
For Melting Kits & Glue Guns
- Always unplug your melting kit or glue gun when not in use—this keeps things safe and prolongs the life of the device.
- When you notice wax or glue spills, wipe them away while the tool is still warm but not hot, making cleanup easier without damaging the equipment.
- Check your melting kit or glue gun regularly and replace any worn or damaged parts, like nozzles or heating elements, to maintain smooth and reliable operation.
Final Words
Now that you know how to use wax stamps and make wax seals, it's time to create! Explore our curated supplies at GiftedChop—everything you need to get started is right here, from wax beads and stamps to melting tools.
Don’t forget to tag us @GiftedChop on social media so we can celebrate your unique wax seal projects and share the inspiration with our community.