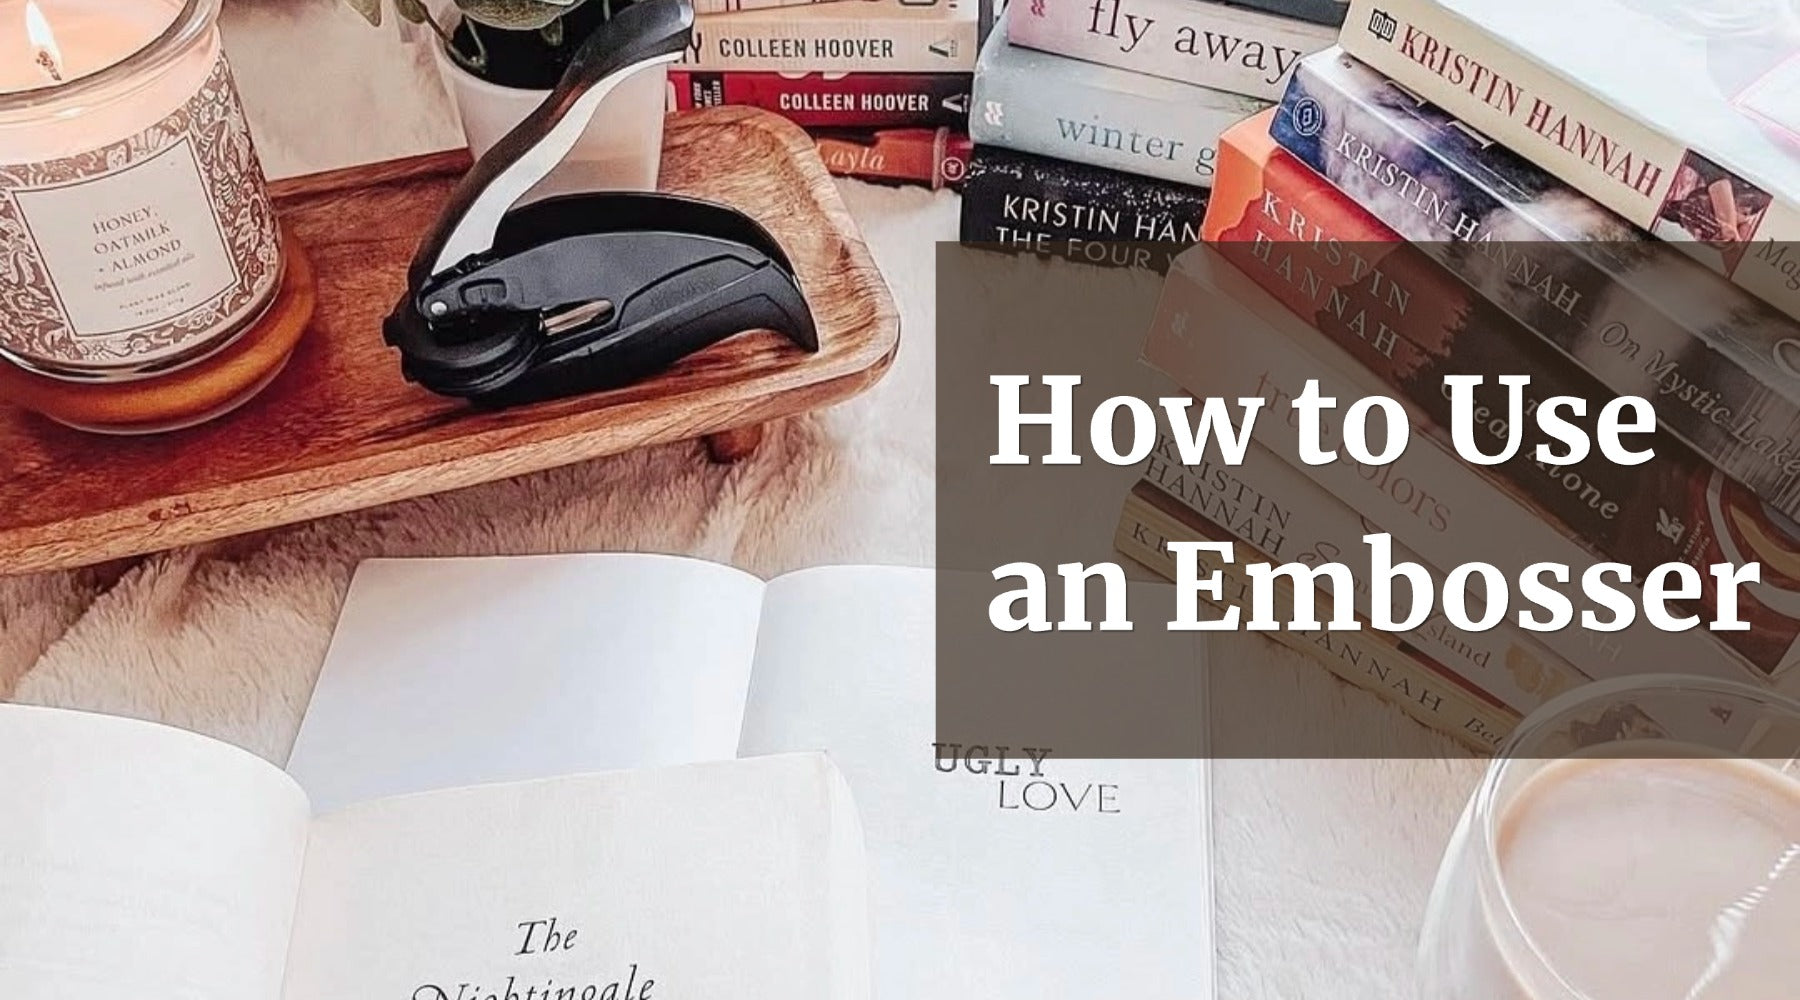
How to Use an Embosser
An embosser is a simple but powerful tool for creating elegant, raised impressions on paper goods. From wedding invites to gift tags or even your favorite books, it’s an easy way to elevate your paper projects. Once you know how to use it, you’ll be able to give your stationery and library a look that feels personal, polished, and uniquely yours.
In this guide, we’ll cover how to set up your embosser and start using it confidently, with tips for getting great results and creative ideas to try.
What’s an Embosser and When to Use It?

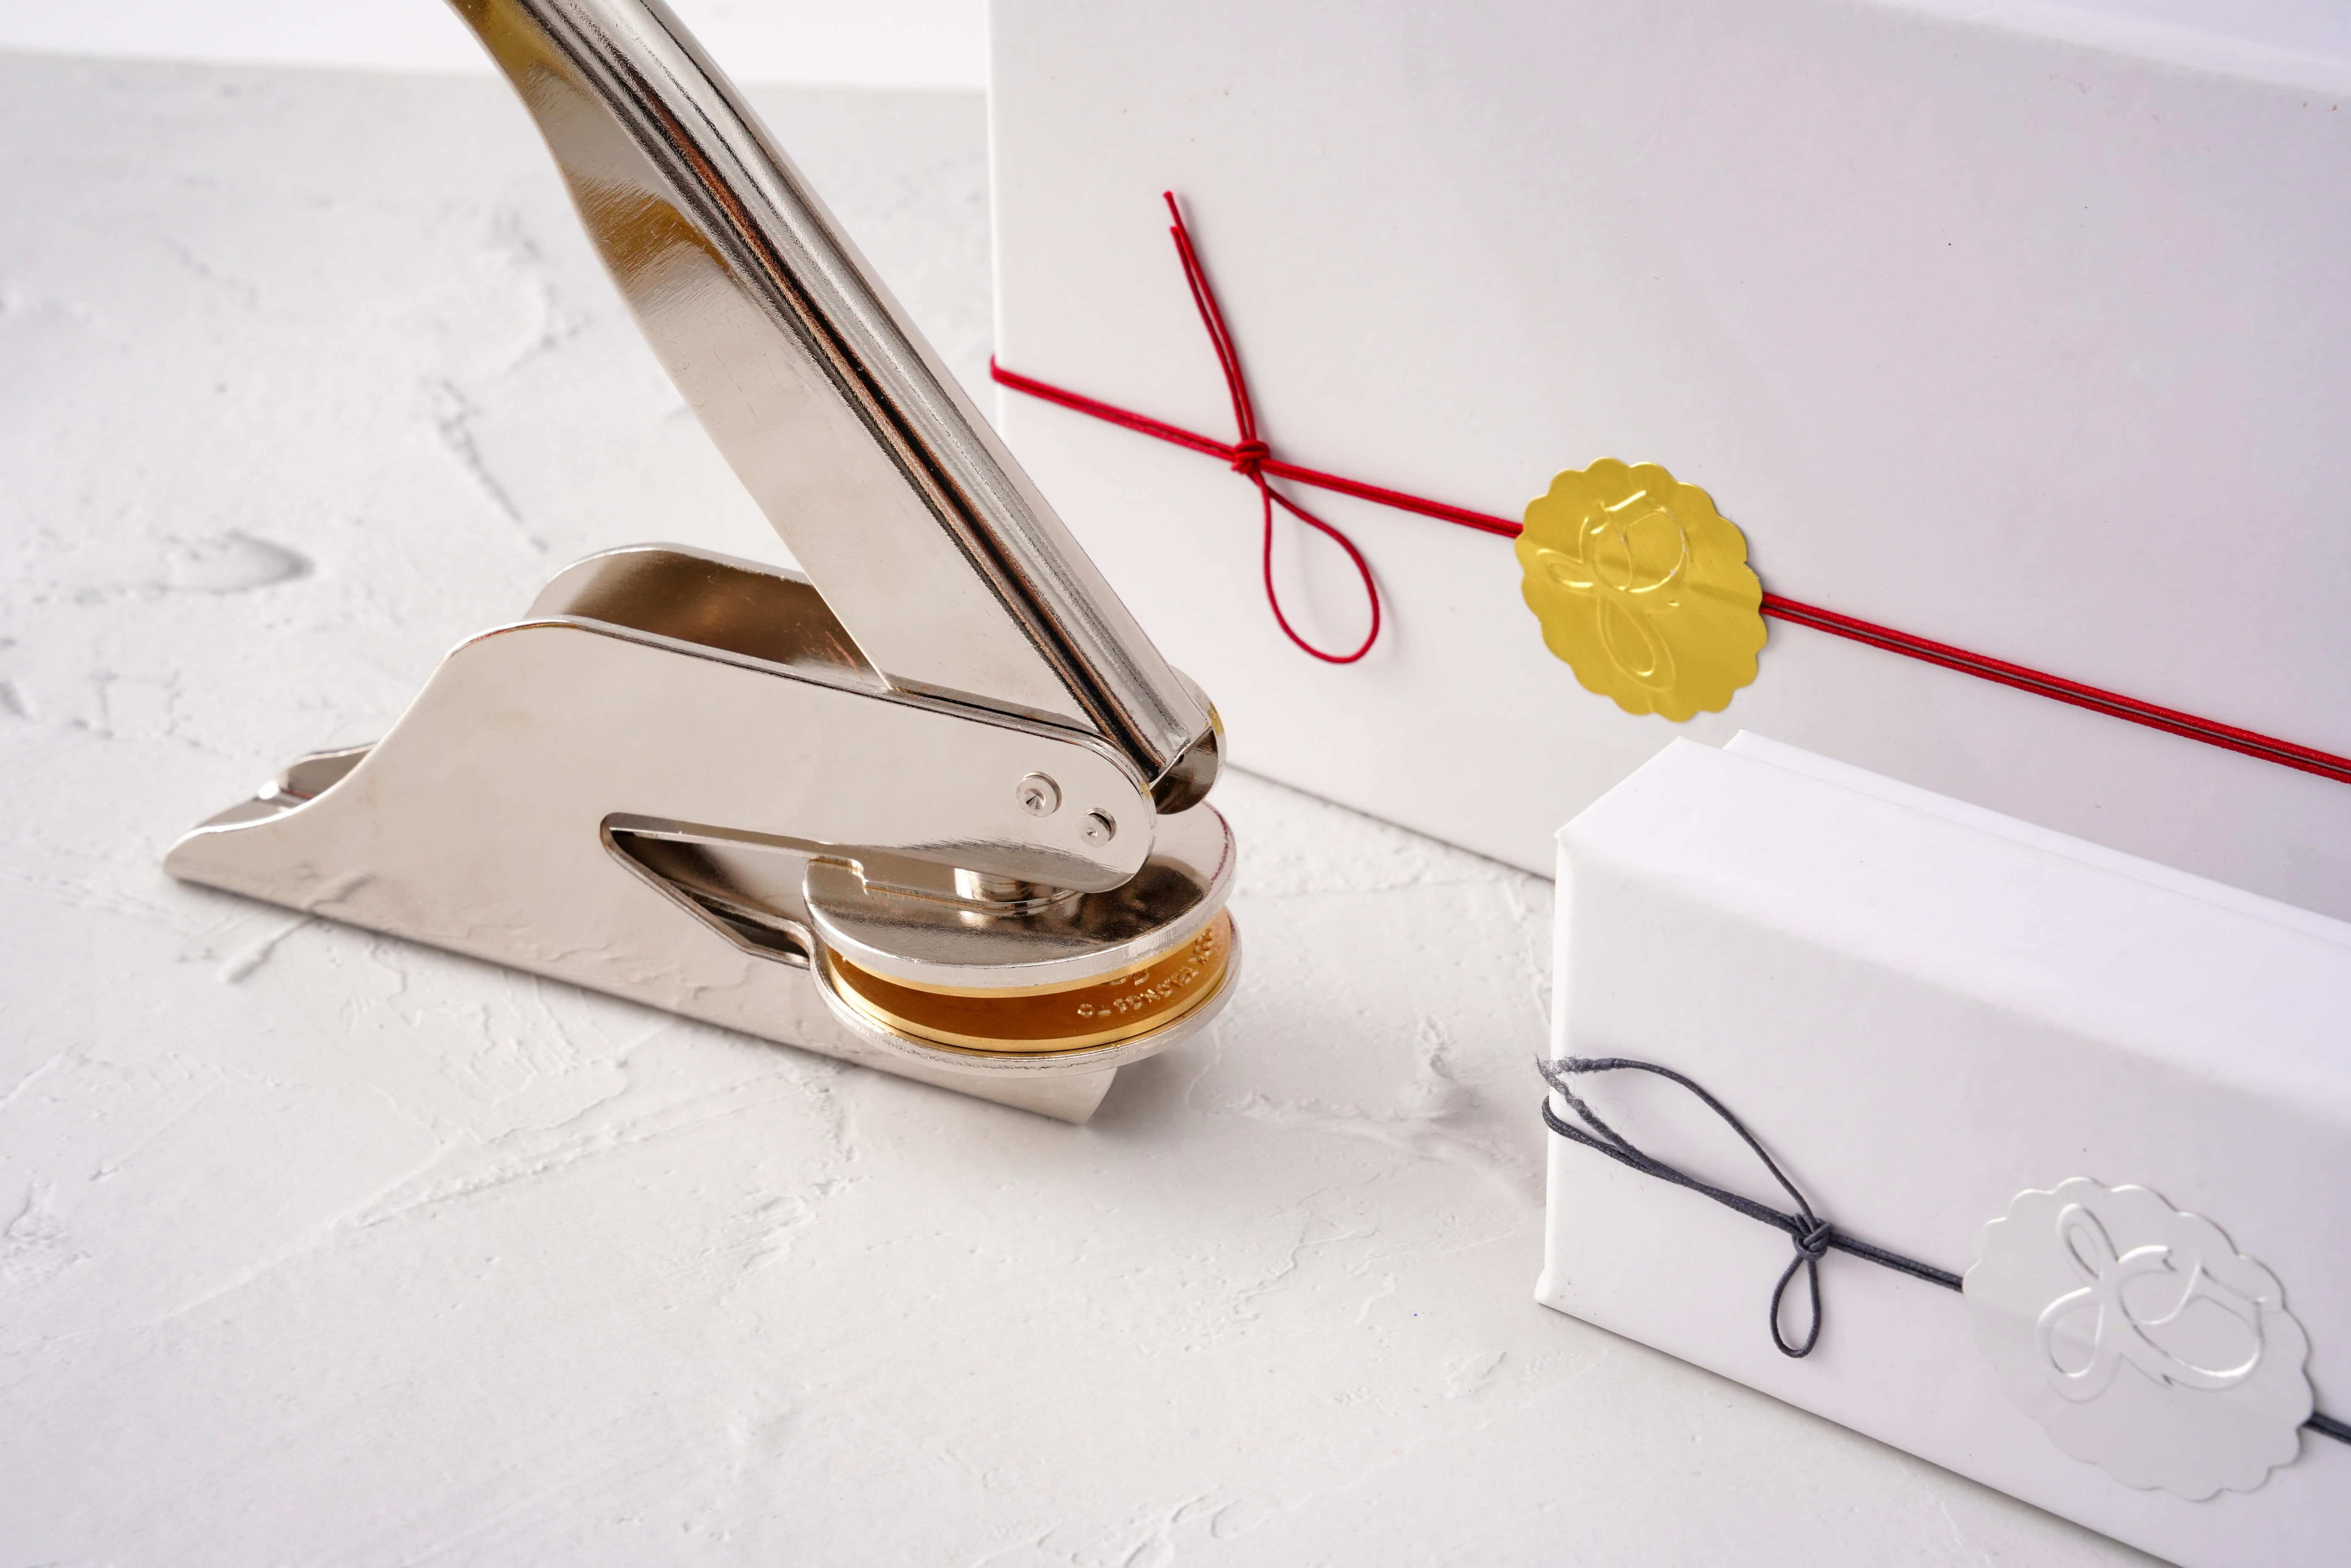
An embosser is a handheld or desktop tool that presses a custom design into paper, cardstock, or foil to create a clean, raised impression—no ink, no mess. It’s a simple way to give your projects a tactile, professional finish that feels both classic and refined.
While many people use embossers only to emboss books, there are plenty of other creative and practical uses worth exploring:
- Wedding Invites & Save the Dates: Add a custom monogram, family crest, or initials to bring a personal, luxurious touch to your suite.
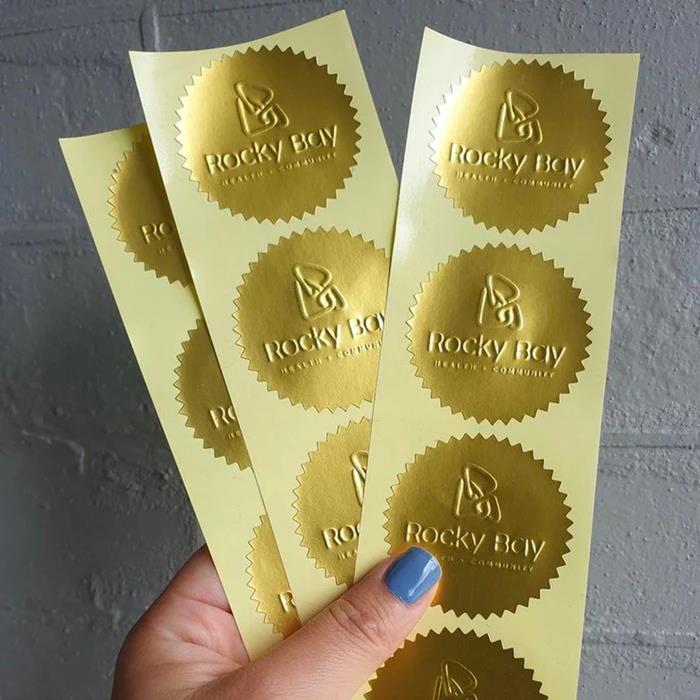
- Business & Branding: Emboss your custom logo on stationery, packaging, or thank-you cards to reinforce your brand in a subtle, elegant way.
- Everyday Stationery: Take your envelopes, greeting cards, or personal notes to the next level with a signature embossed name or monogram.
- Certificates & Official Documents: Embossing can add an extra layer of authenticity and professionalism to important papers.
- Mailing: Emboss your return address on envelopes for a clean look that saves time—no labels needed.
Embosser Designs at GiftedChop

We’ve got a variety of creative embosser designs ready to go at GiftedChop. Browse our curated collection—or if you have something special in mind, upload your own design for a completely personalized embosser.
- Wedding Embossers | 🛒 Shop Now >
- Return Address Embossers | 🛒 Shop Now >
- Library Book Embossers | 🛒 Shop Now >
- Name & Monogram Embossers | 🛒 Shop Now >
- Custom Logo Embosser | 🛒 Shop Now >
How to Install Your Embosser
Getting your embosser set up properly is the first step to creating crisp, beautiful impressions. If you’re not sure how to install your embosser plate, don’t worry—we’ve got you covered. Just follow these simple steps.
1. Unlock the Embosser
Find the small lock on the side of your embosser. Slide it to the left (or according to your model) to release the handle and open the device.
2. Lift the Handle
Gently pull the handle upward to open the embosser stamp. This will give you access to the design plate slot.
3. Remove the Existing Plate (If There’s One Installed)
If your embosser came with a demo or standard embossing plate already inside, carefully pull it out by squeezing the sides and sliding it out of the slot.
4. Get Your Custom Plate Ready
Take your new design plate and check the label—make sure the side marked "UP-SIDE" is facing up. This ensures your impression comes out correctly aligned.
5. Insert the New Plate
- Lightly squeeze the two halves of the plate together.
- Align it with the slot inside the embosser.
- Slide it in gently until you feel or hear a click—this means it's locked into place.
6. Test Your Embosser
Before using it on your final project, insert a piece of scrap paper between the plates. Press down the handle firmly to test the alignment and pressure. If everything looks good, you’re ready to emboss book or anything else!
What Paper Works Best for Embossing?
Choosing the right paper makes a big difference in how crisp and clean your embossed design turns out. Here’s what we recommend for the best results:
- Book Page/Cardstock: A go-to for clear embosser impressions. Look for paper with a weight up to 180gsm—it’s sturdy enough to hold the raised design without tearing or creasing.
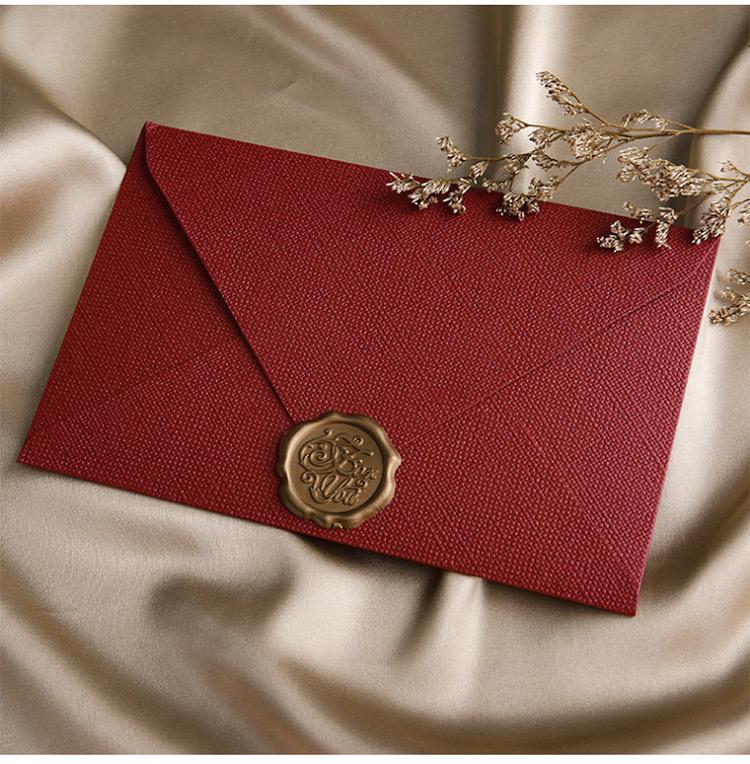
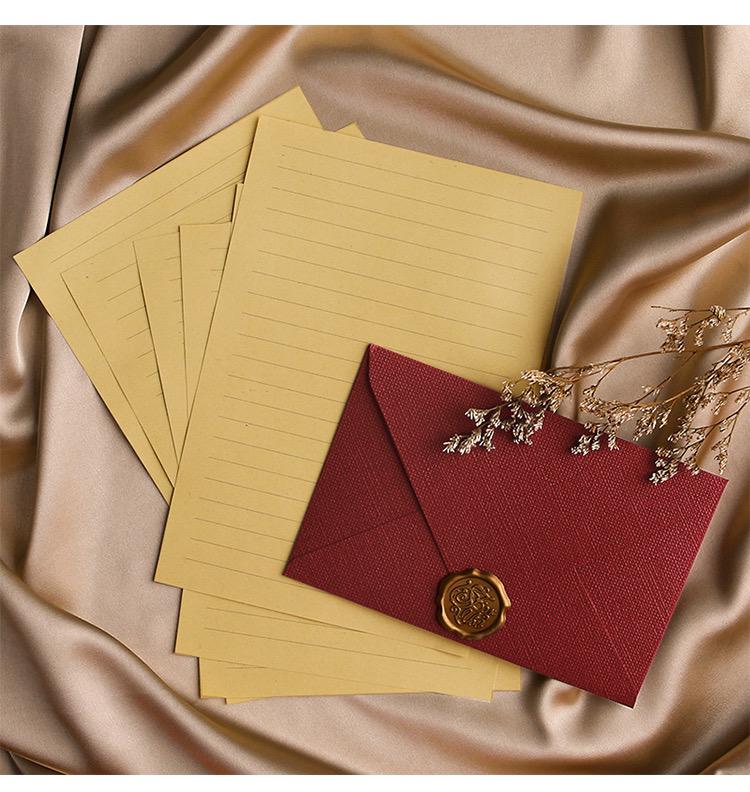
- Premium Envelopes: Our burlap texture envelopes are perfect for embossing. The subtle texture adds depth, and the colors—like Burlap White and Coffee Brown—bring an elegant touch to your mail.
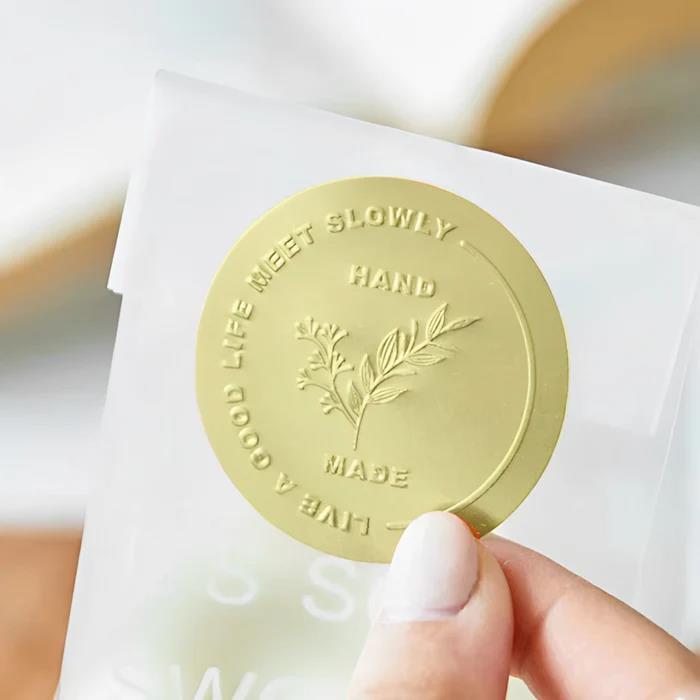
- Foil Seals for Delicate Papers: If you're working with thin or super-smooth paper (like vellum or lightweight letter paper), try embossing on foil seals instead. Once embossed, just peel and stick them onto your stationery for a polished, high-end finish.
*Tips: Always test your embosser on a scrap piece of the same paper first. It helps ensure the embossed paper seal is aligned and the pressure is just right before you commit to your final piece.
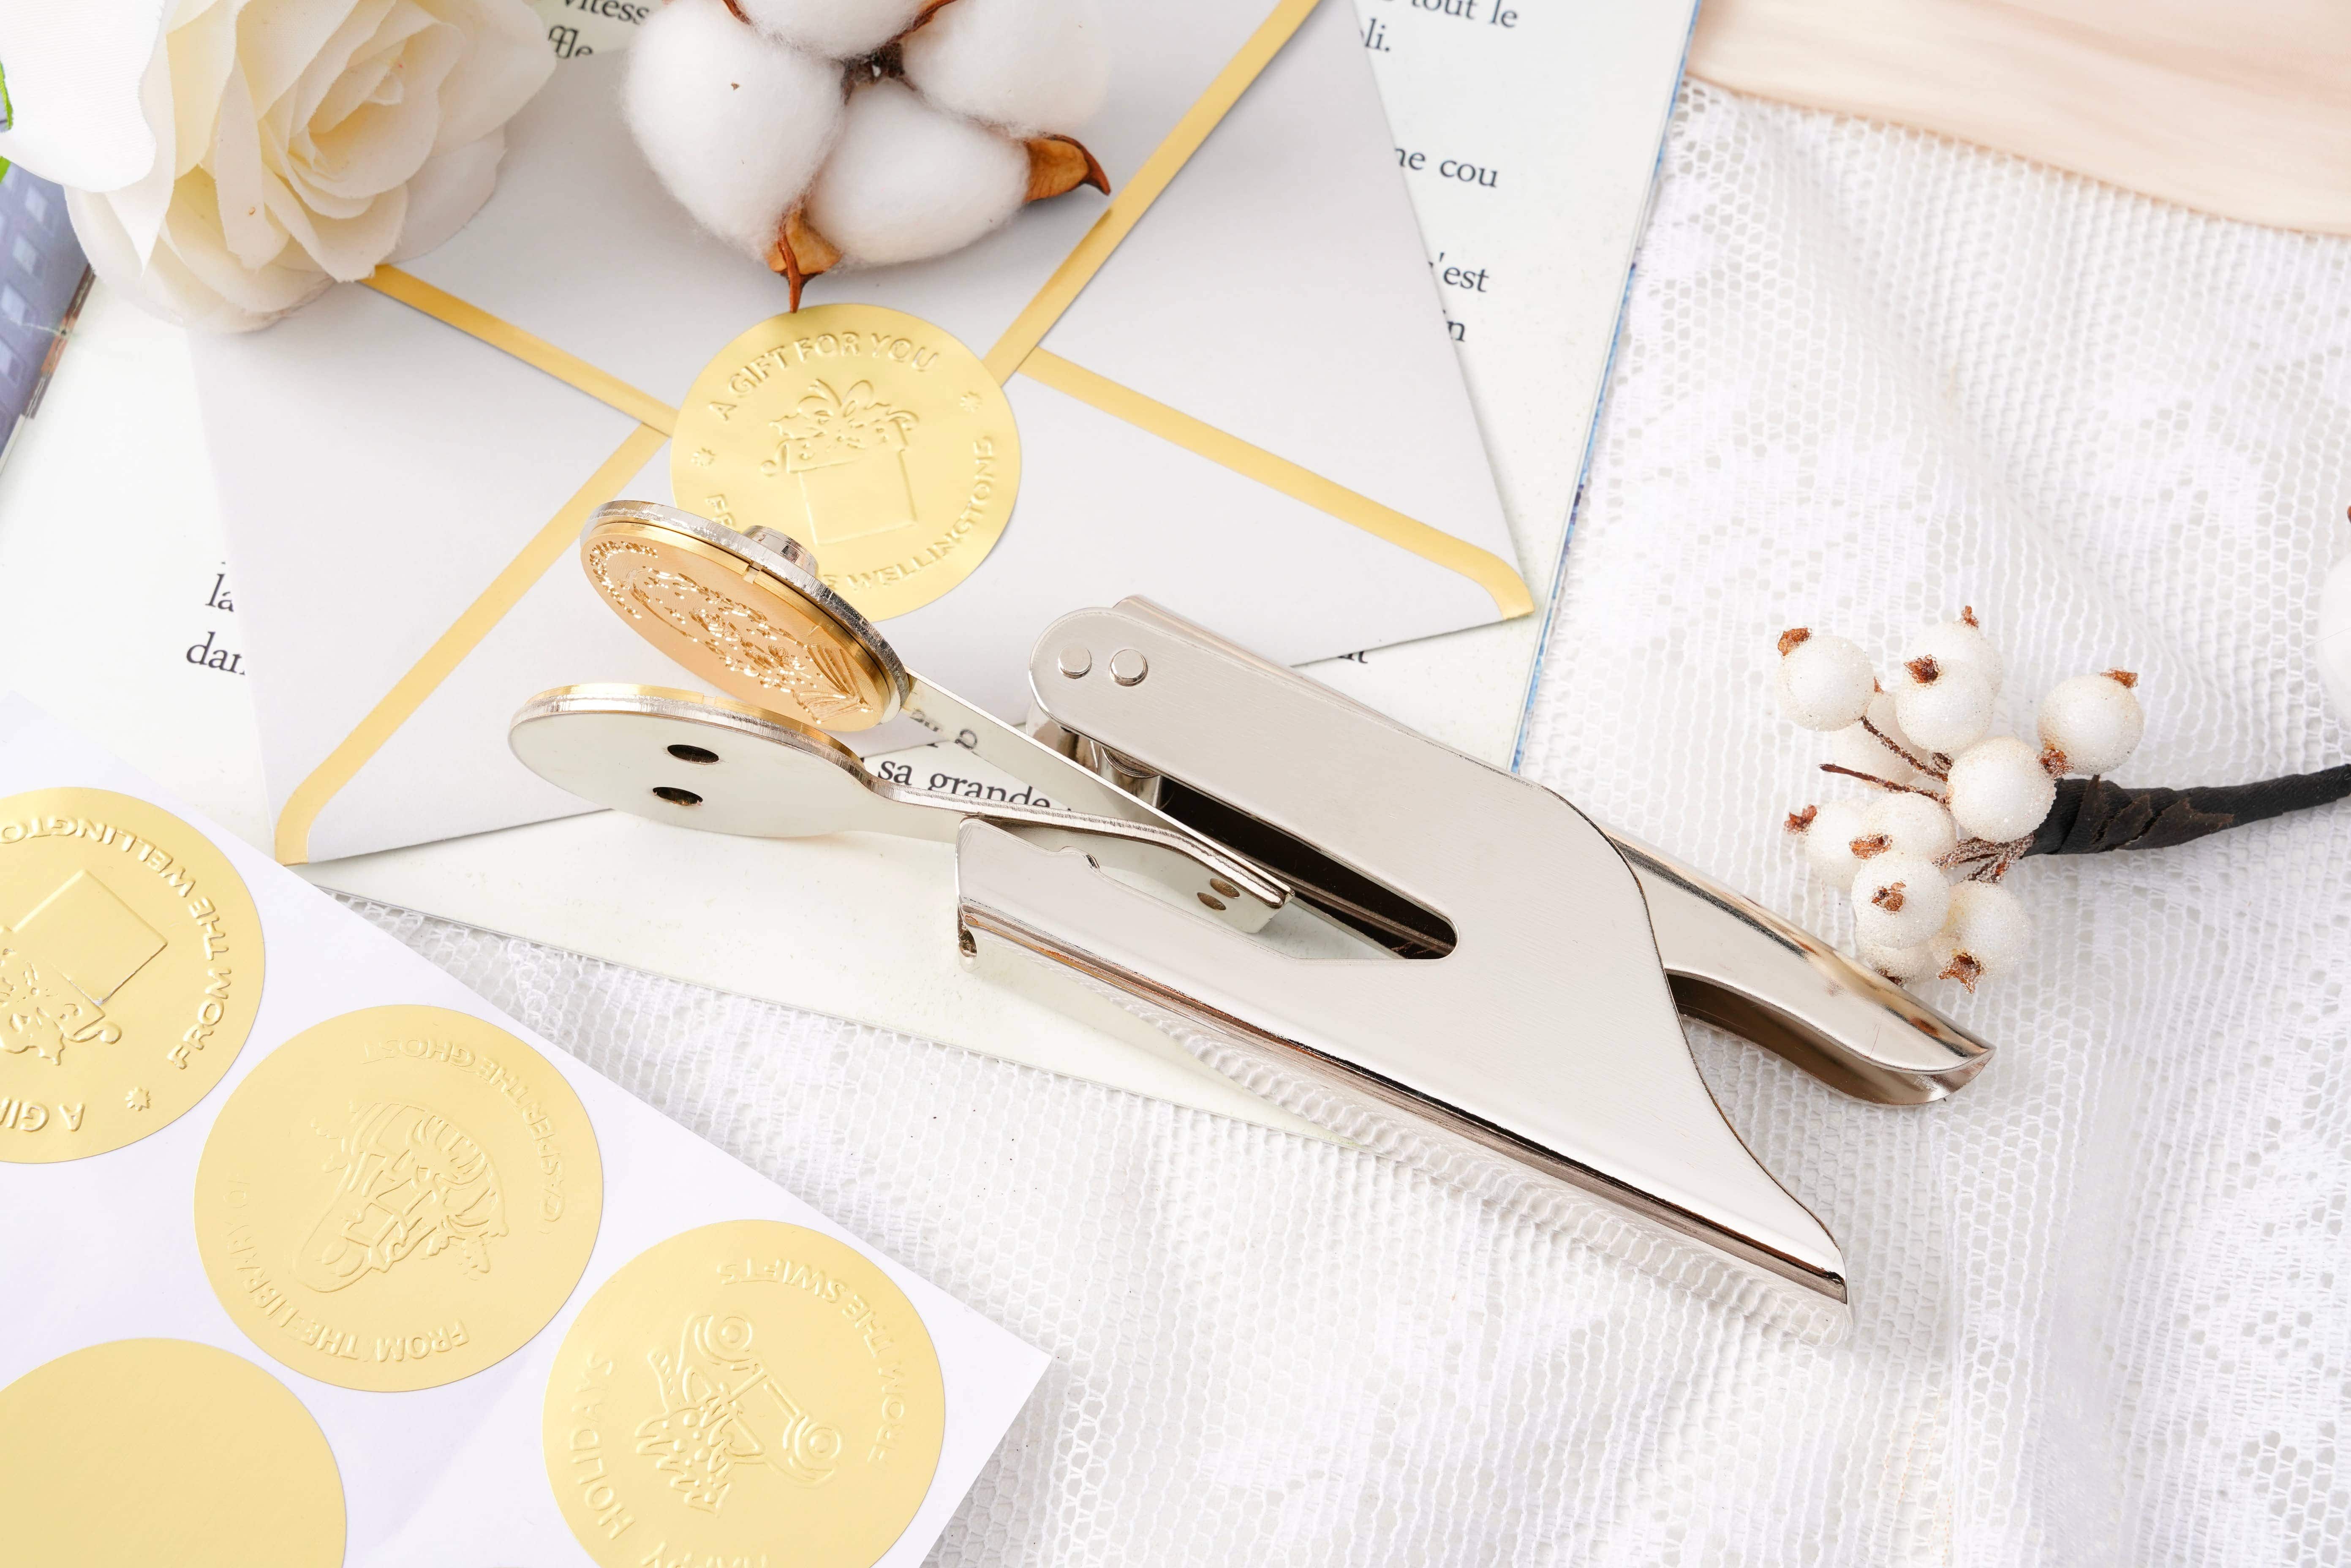
How to Use Your Embosser on Books, Cardstock, & Foil Stickers
Now that your embosser is set up, let’s explore how to use it on different materials.

1. Prepare Your Papergoods
No matter what you’re embossing—books, cardstock, or foil seals—it helps to lightly mark where you want your design with a pencil. This little step makes sure your impression lands exactly where you want it.
2. Insert the Material into the Embosser
Slide the paper, book cover, or foil seal into the slot between the embossing plates. Take a moment to carefully align the material so your design is centered perfectly.
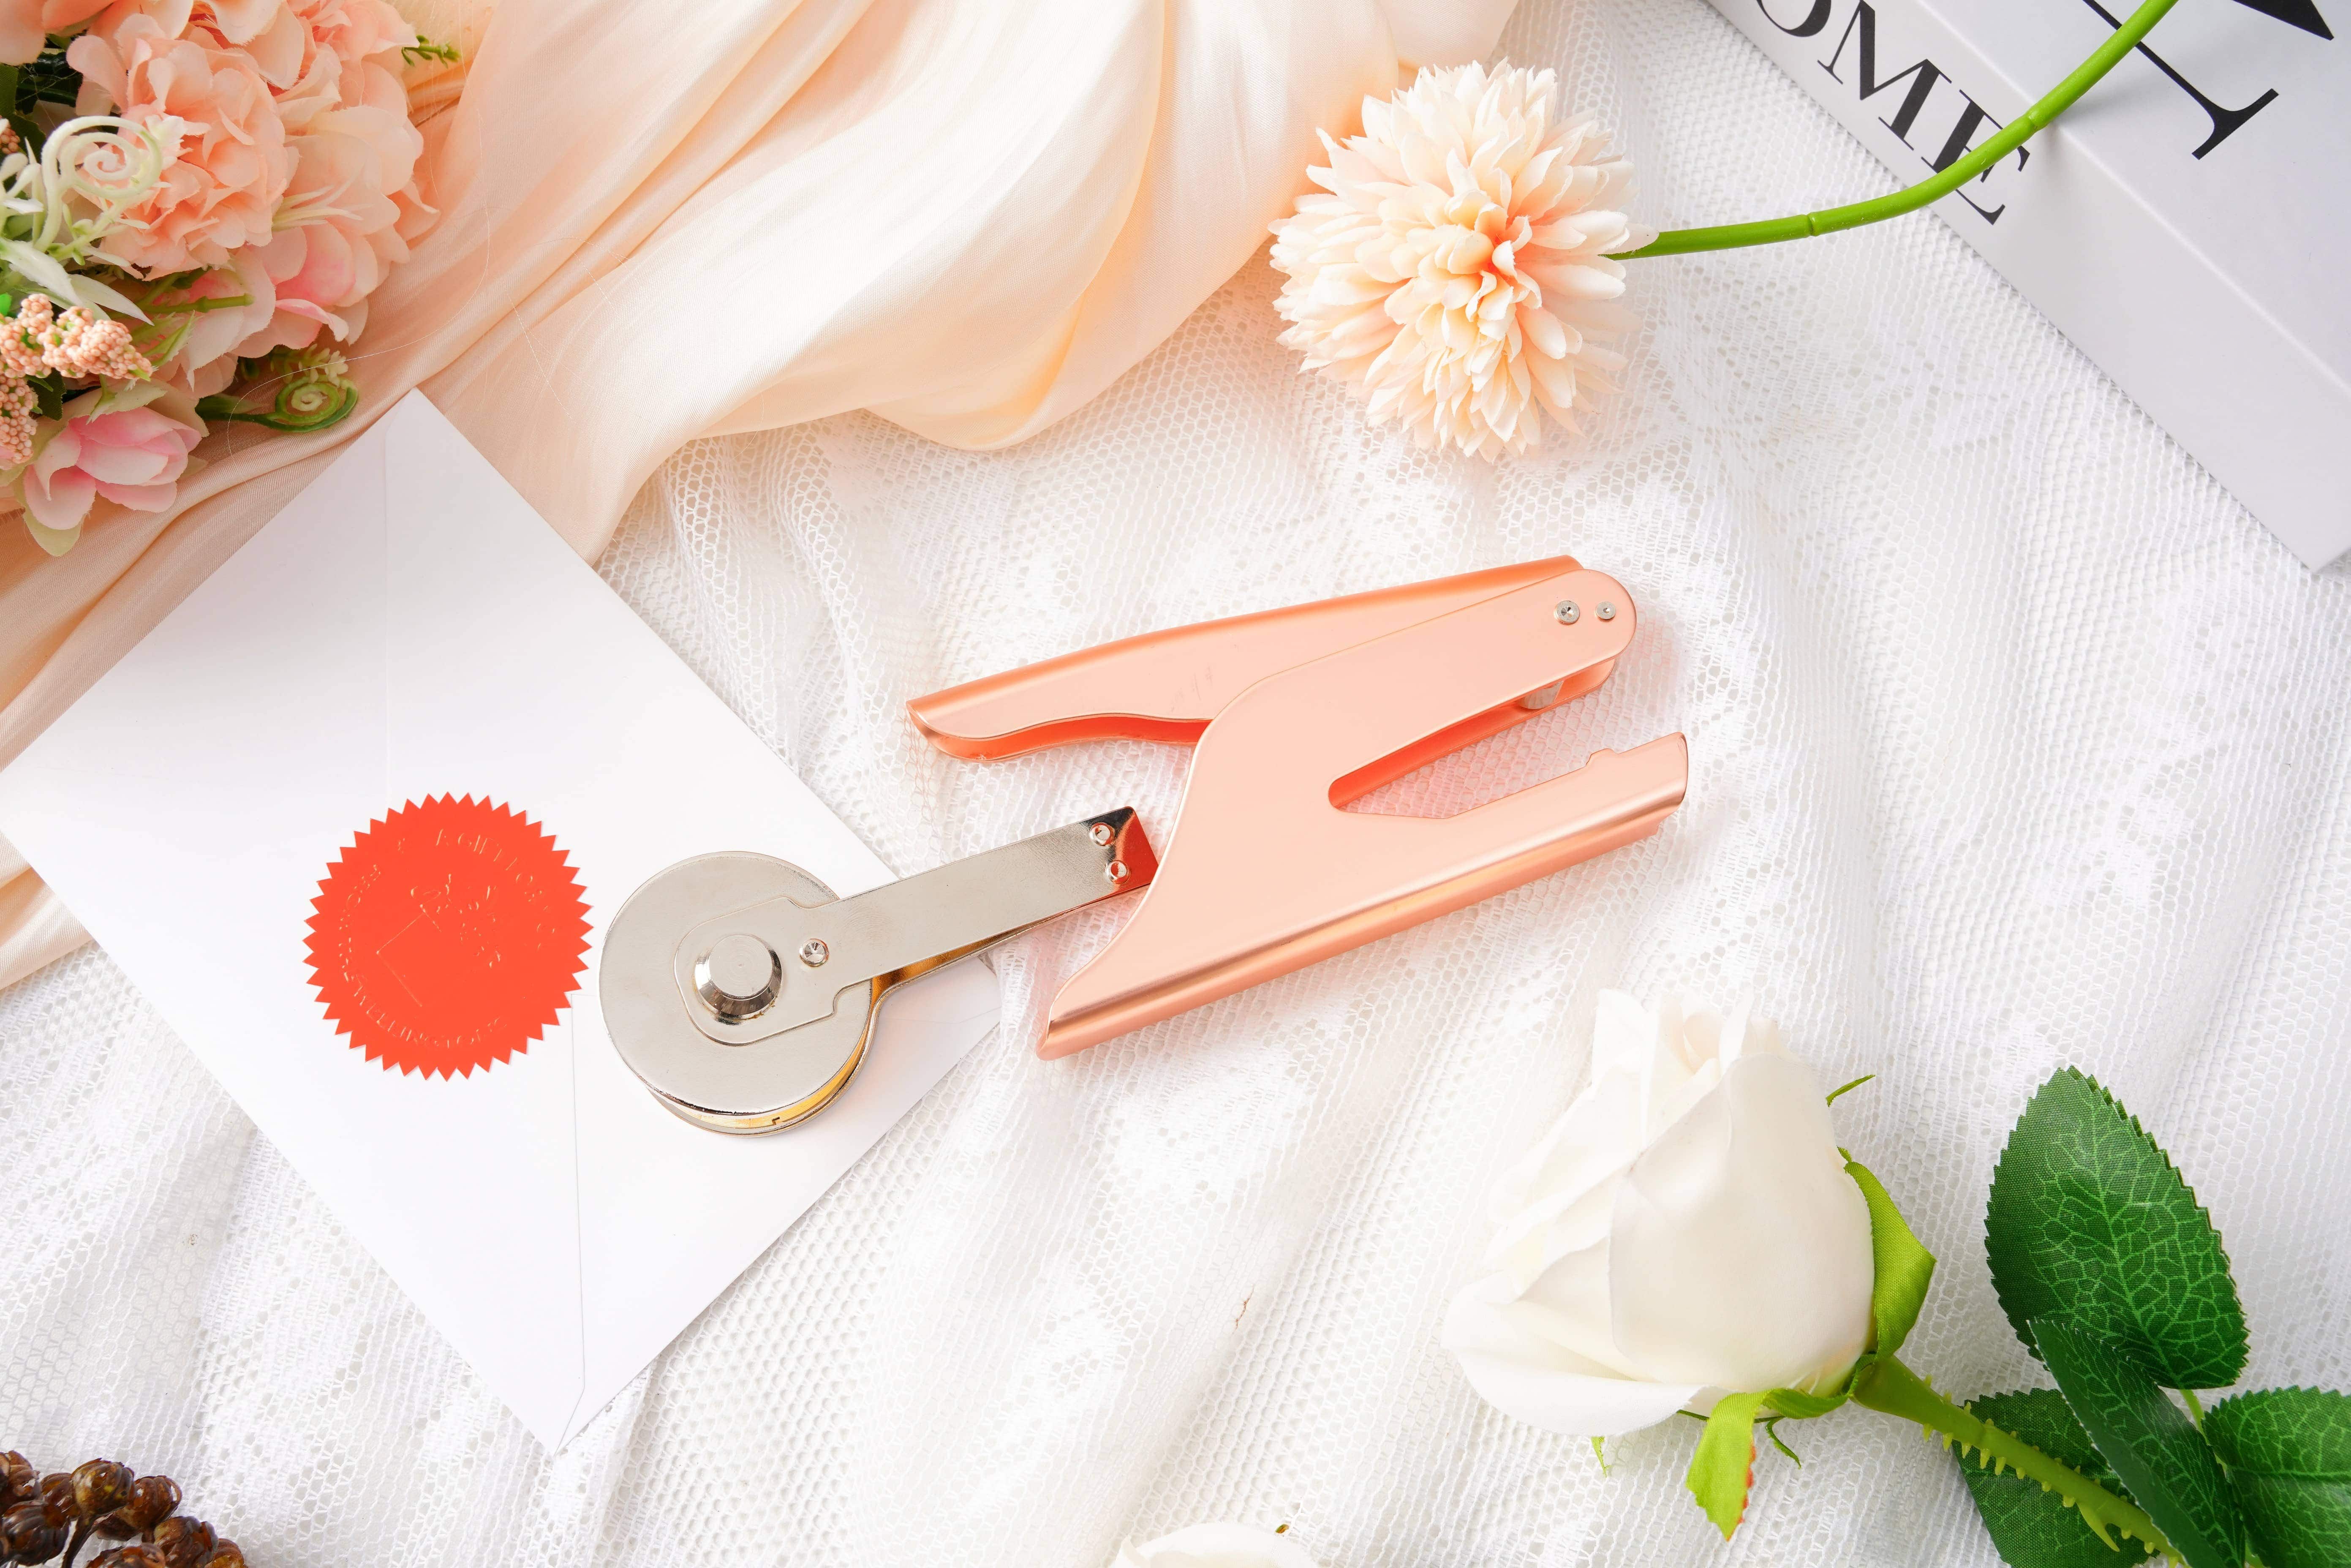
3. Apply Pressure
- For handheld embossers: Squeeze the handle firmly and evenly.
- For desk-mounted embossers: Push the handle down smoothly for a consistent impression.
4. Repeat as Needed
If you’re embossing several items, like a batch of invitations or bookplates, repeat the process carefully each time.
5. Switch Plates to Change Designs (OPTIONAL)
GiftedChop embossers are designed with interchangeable plates, so you can easily change designs for your library, stationery, or any creative project—no need to buy a new embosser device each time.
Expert Tips for a Perfect Embossed Paper Seal

Here are some tips to help you get perfect embossed paper seals with your embosser:
- Apply Even Pressure: Press your embosser firmly and evenly. Too much force can warp the paper, while too little might give you a faint design. A little practice goes a long way.
- Test Before You Commit: Always do a quick test emboss on a scrap sheet before starting your actual project.
- Keep Your Embosser Clean: Dust, paper fibers, or waxy residue can build up on your plates over time. Give them a gentle wipe with a soft cloth regularly to keep your impressions sharp and clean.
- Pair it up: Combine embossed designs with wax seals to instantly elevate your stationery with a touch of timeless charm.

Final Words
Once you get the hang of using your embosser, the creative options are endless. Add a touch of elegance to anything—books, cards, certificates, or packaging—and make each detail feel uniquely yours.
Don’t forget to tag us @GiftedChop on social media so we can celebrate your unique embossing paper projects and share the inspiration with our community.